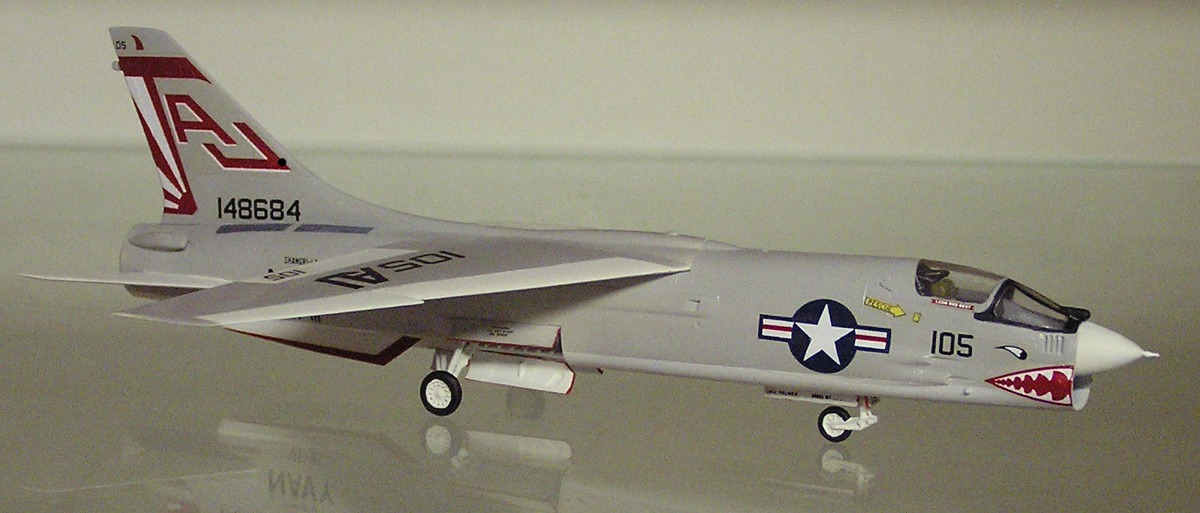
Minicraft F-8H of VF-111
2007-03-16 Project start
Like several other projects, work on this kit began in response to a suggestion from SIG Naval Aviation, in this case to have a gathering of Crusaders for the june 2007 meeting. that gives me roughly three months to build, which should, in theory, be enough. Experience, however, shows that the rest of the universe hates such projects, and will find some means to get in my way. We'll see..
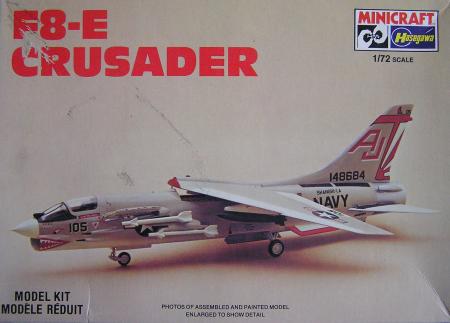
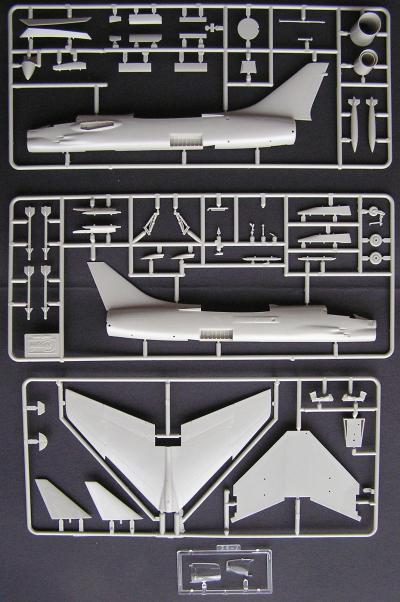
The kit, from Hasegawa as is so often the case with Minicraft, itself is now quite old, at least twenty years and probably closer to thirty, and in some ways, this shows. The kit has very fine raised panel lines, which are a problem waiting to pounce should any fit problems that require sanding develop. The cockpit is, to say the least, very basic, nothing more than a tub with a control stick, panel and a grossly ugly seat. The seat is so ugly, in fact, that I'll be replacing it with an Aeroclub part. I shouldn't be too nasty about the seat, though. It is not, like so many others from this timeframe, a shapeless blob. It's got quite a bit of surface detail on the sides, and would be rather nice it only it looked like an ejection seat.

This almost but not quite good enough status also applies to most of the other interior details, like the wheel wells and gears, the unique moving wing, and the refuelling probe. It's all there, testinomy the the good intentions of the folks at Hasegawa, but technology obviously needed some progress before things could really work out. None of that excuses the widespread presence of ejector pin marks though.
The kit definitely has good sides as well. For one thing, is appears that the various parts will agree to form an aircraft without much fuss. Roughly throwing the parts together results in something that looks a lot like a Crusader, so basic shape should be OK, and the canopy is actually useable. That shouldn't be remarkable, but the contemporary Revell/Monogram/Italeri kit has one that I honestly wouldn't know what to do with without resorting to decals for the frames. The weapons included look OK as well. All in all a nice, basic kit.
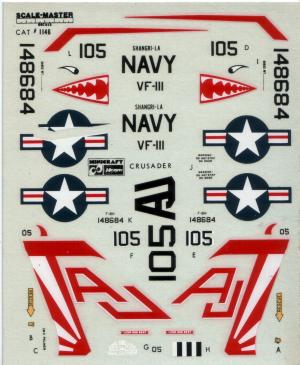
The decals are, once again in typical Minicraft fashion, different from the Hasegawa original. These appear to have suffered a bit over time; the red ink seems to have diffused outward a bit, so I'll have to cut close to the edges when using them. The control panel decal has already been put in place, so I know that they won't disintegrate on me or some similar mischief. The funny thing is, nice though the decals are, they are for an F-8H, not an F-8E as printed on the box. VF-111 only flew Crusaders off the Shangri-La in 1970, and by then their aircraft were indeed F-8H. The two types are outwardly similar, so there's no problem there, but why put the wrong type on the box and instructions?
While flying from the Shangri-La, VF-111 mostly did pure fighter work. This suits me just fine, because, although the F-8 was a capable ground attack aircraft, I find it vaguely insulting to stick bombs under an aircraft that looks like it's been built for the exclusive purpose of slugging it out with other aircraft. Consequently, the only weapons this bird will carry externally are sidewinders.
2007-03-18
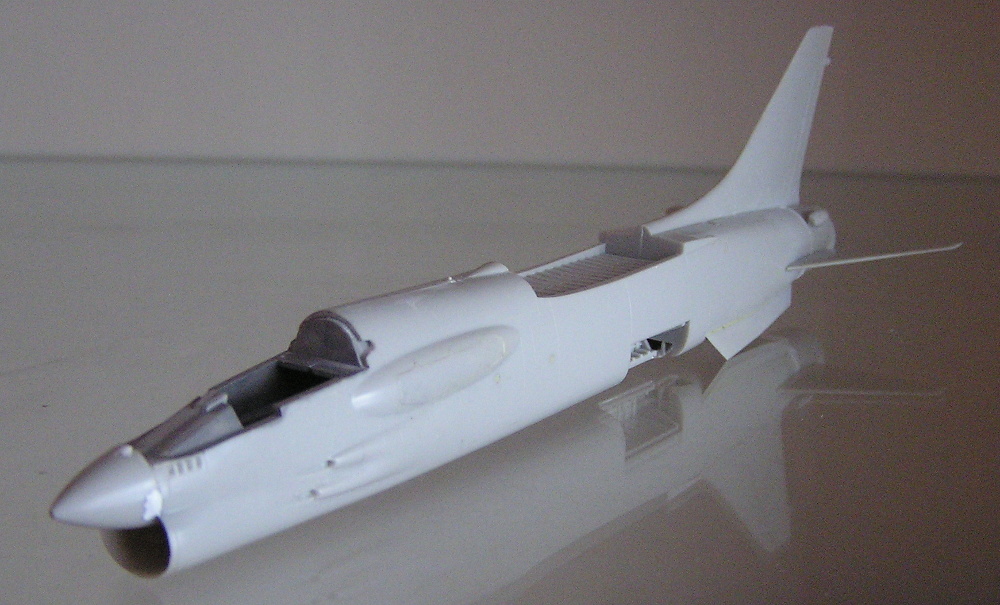
Construction is proceeding rapidly. There's no cockpit to fiddle away
at for days, and the entrance to the tub is wide enough that I can
install the ejection seat very late in the process. The fuselage is
now closed, and the engine section installed. I will now have to wait
for the glue to set, and more importantly, the plastic along the seams
to recover completely, before getting to work on the seams with knife
and files. Fit wasn't as perfect as I'd hoped for, so the jury is still
out on the fate of the panel lines. I'll try to preserve them as much
as possible, but only time will tell how much is possible.
2007-07-08
Not much progress these past few months, which wasn't helped by the fact
that a more or less mandatory bit of training got planned on the same
evening as the SIG meeting. One evening in three months, and they just
have to go and pick it..
The fuselage is mostly assembled, only the large ventral fins need to
have some work done on the inevitabe seam between them and the body.
While I'm at that, I'll also be filling in the locator holes for the
sidewinder rails. Fit of these is so bad that I'm not even going to
bother. This Crusader will have to make do with guns only, but hey,
it's the Last of the Gunfighters, it should be OK. I have a few
Academy kits of the same subject in the stash, and those are only
thirty years younger and presumably much better quality, so hopefully
the rails on those will fit.
Once the fins are finished, I'll prime the body and see what's left of the
panel lines. The wing and tailplanes will only go on after the body is
completend, maybe even after it's painted.