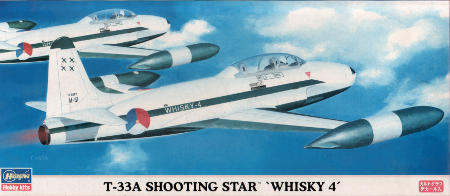
Hasegawa T-33 of JASDF TFS 304
I don't have any particular connection with the T-33, but the markings on this one were entirely too nice to resist. To my disappointment, it turns out the markings as shown are incorrect, as the actual planes were a rather ugly, very pale green instead of white. Once I actually get around to using the decals, I'll have a moral dilemma to deal with, but that is for another time.
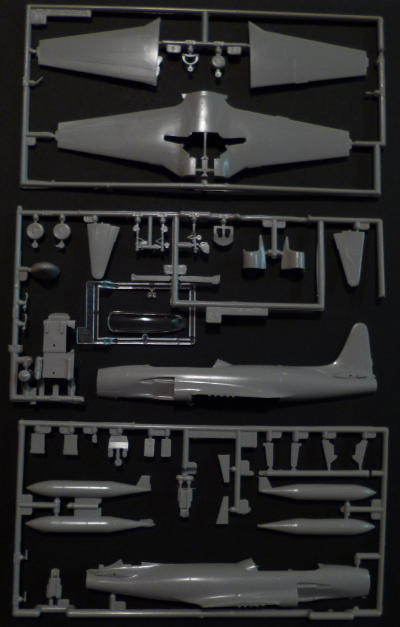
I started assembly of the kit with some enthousiasm, but that faded quickly. The kit shows it's age rather badly, with combination of raised panel lines, and dubious fit, which typically results in loss of all surface detail. The kit ended up in the entirely too long lineup of bench queens for a while.
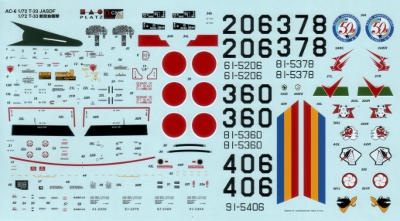
Fast forward a few years, and Platz has brought out a brand new tool T-33. On paper, this looks superb, so I bought a pair of them (hands-on experience by a fellow builder has since proven that the Platz is every bit as good as it looks on the folder). One of the Platz kits will be built with the Whisky 4 markings, which leaves a somewhat obsolete T-33 and an obsolete decal sheet. A solution was obvious; the Hasegawa will be completed with the Platz decals shown on the right.
Since that decision was made, the Hasegawa kit suffered the indignity of having it's nose cut of in the vain hope it would be a less horrible fit for the RT-33 conversion part that came with the Sword kit, and then getting it bolted back on when that didn't work. It will be little more than a glorified paint mule for a test with Alclad White Aluminium that I now find myself in need of. I still have some hope that it will turn out presentable despite all it's sufferings.
2019-12-22
The nose has been cleaned, and I've attached the wings. Fit of the wings was rather
good, but the undercarriage is a different matter. The kit is desinged to be built
wheels down, but I'm not in the mood for that and besides, the undercarriage and its
doors look a bit clunky. Getting the doors to fit in closed position looked set to
be a real headache. I've got plenty of aspirins of course, but I prefer te make my
own headaches instead of relying on those supplied by the kit. So, just to be vile,
I stuffed the wells with Milliput. Once this is set and sanded into shape, I'll use
the doors that came with the kit as templates for scribing some panel lines into the blob.
2019-12-22
The bottom is sanded smooth, and the outline of the section made up of six gear doors
and a pair of airbrakes can be clearly seen.
There are some odd coloured spots, which I suspect are just discolourations in my aging Milliput.
I'll leave the model to dry up, and get down to some engraving tomorrow. That's
when I find out if this was actually an idea I could get away with..
2019-12-23
Turns out the discolourations in the Milliput weren't as harmless as I'd thought,
the bits simply didn't harden. Had to dig out the gunk, and re-fill with normal
filler. Took a few passes, but came out OK.
I've changed my mind about engraving the edges of the various doors. I did some
peeking around the web for pictures of the original, and the lines between the
doors and the rest are no more noticable than any other panel lines. Since all
other panel lines have been wiped, it would be inconsistent to put the door lines in.
The kit pulled a cute little stunt on me: one of the wingtip tanks has a nice,
pronounced locator indent, and a hole for the tab on the wing. The other tank
has neither, so I've had to guesstimate alignment with the old Mk1 eyeball and
butt join the thing on. Cement is currently curing, and I'll hit it with another
helping after that. I just hope this will create a bond strong enough to survive
the rigours of masking, painting, and getting rid of the tape.
2020-01-03
Well, that was weird...
I've given the plane an overall coat of gloss black last Wednesday, and
today masked the outer parts of the tip tanks. Next was a coat of Tamiya
laquer white, and over that a first layer of Model Master enamel orange.
So far so good. After some time, I added a second coat of orange, and then
things got weird. At first the orange was building up nicely, then suddenly
went completely liquid and drifted away from all the edges, both those of
the plastic itself, and the edge of the masking tape. Obviously, I overloaded
it, but it's odd how it went from great to FUBAR in a split second.
I think I'll give this coat more time to settle down before continuing..

2020-01-03
I decided to take a somewhat different approach to finishing the orange.
After the airbrushed bit had dried for a few hours, I grabbed a somewhat
worn brush and basically stippled on a full coat of orange. This avoids
dragging the brush along the surface, and avoids giving the paint any excuse
to move. With slow drying paints with good levelling characteristics, this
produces a coat almost as even as airbrushing, although a bit thicker.
Some touch-up was required, though amusingly, only the airbrushed paint had
slipped past the masking tape. Time for some serious drying before I re-mask
and shoot most of the plane in aluminium.
2020-01-05
Great.. most of the paint on the base came off with the masking tape. Not happy..
2020-01-11
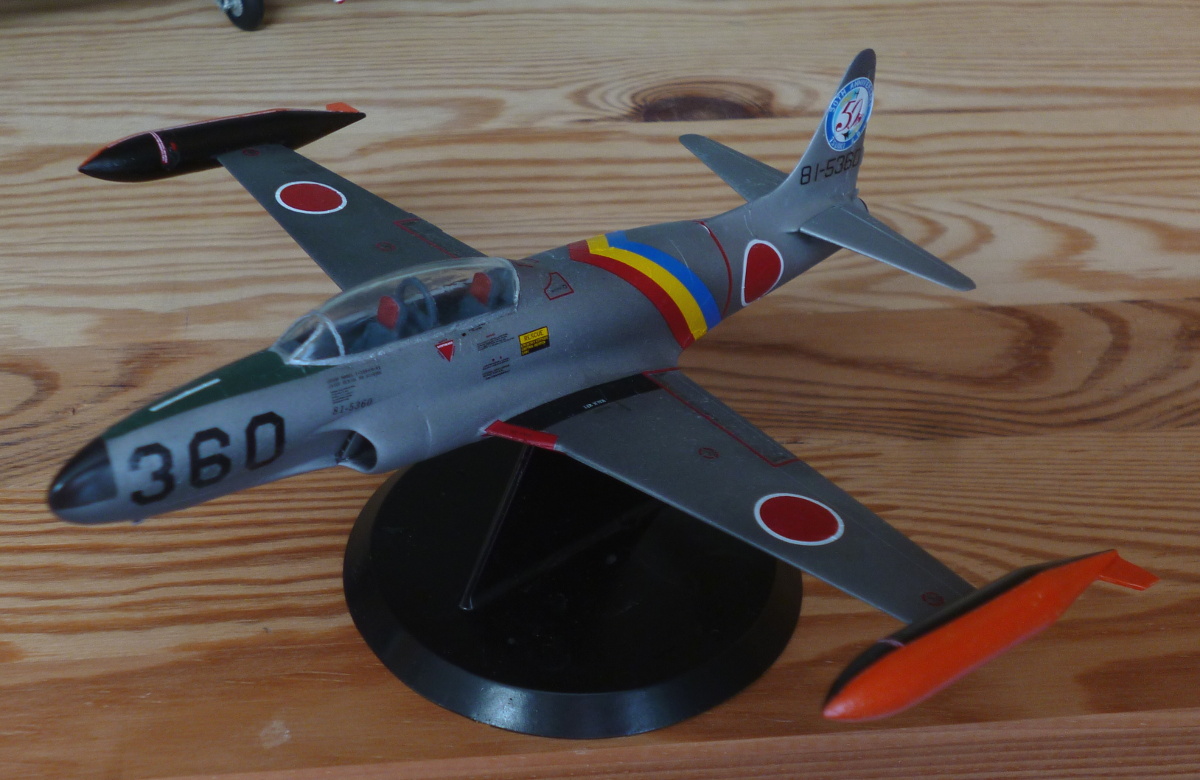
The decals are starting to go on, and the plane is picking up colour.
Decalling, at least initially, will have to be done in small batches;
too many decals are right next to others, sometimes touching or overlapping,
and I really don't want to bump the first out of position while aligning the second.
2020-04-06
It took a while, but I finally got all the decals on. Came out a lot nicer
than I expected, and certainly a lot better than I had any right to given what
this poor thing went through..
The decals were an adventure in their own right.
I'd more or less switched to Daco Medium decal solvent (with the firm intent of
permanently running out of it, as part of my effort to clear all the experimental
media off the bench), but I'm beginning to think it is overly hot for general use,
or at least for use on very thin decals, which tend to end up somewhat wrinkled when
using it. Halfway through, I'd had enough and switched back to MicroSol, which was
certainly better. Just to be vile, I then finished the job with ModelMaster solvent,
just to see how it performed (very well, actually).
So Daco Medium is relegated to use on very stubborn and/or thick decals. I shudder
to think what my jar of Daco Strong will do; I think I'll keep it around for
intimidation purposes, and as the nuclear option..
|
Finishing materials:
Motip primer overallHu21 Gloss Black overall
Tamiya LP-4 Flat White orange base
MM1527E Gloss Orange