Matchbox Tornado
Project start 2017-02-01
Years ago, I bought the Hasegawa Tornado F3 with the "Red Zebra" markings.
Or so I thought. This kit was from a period when the decal producers for Hasegawa
were unable to distinguish between white and tan, so the decals were utterly,
totally useless. Not yellowed, mind, but printed in a colour that didn't remotely
resemble white. So, nice plastic, no decals.
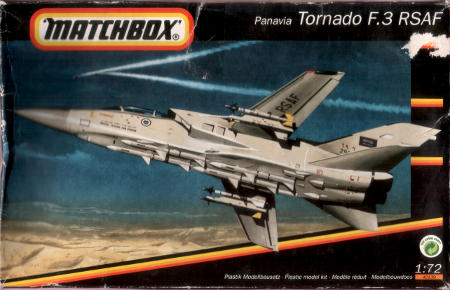
Somewhere between now and then, I stumbled accross the Matchbox Tornado F3. The
kit cost less than an after market decal sheet, and I rather fancied a non-UK F3,
so I bought it for the decals. Good thing too, because the plastic is crude. Matchbox
was always simplified, but otherwise neatly done, but this kit is neither. So,
nice decals, no plastic. Balances the Hasegawa neatly.
Now incomplete, the kit languished for years (which is a polite way of saying in
just hogged shelf space). Then we had the Dambusters! 617 Sqn GB on this board.
When my models were complete, I dragged them off to the local IPMS meeting, and
quite naturally, talk went into "what if" territory, wondering how the RAF would
go about removing an inconvenient dam on someone else's territory these days.
Conclusion was that most likely they'd have to nuke it, as they didn't have
anything else capable of knocking down such a structure, and even if they were
to build a new bunch of Upkeep bombs, they'd have nothing to deliver something
that big with. Until someone mentioned the Tornado could carry about as much
unpleasantness to the enemy as a Lancaster. Much hilarity over Tornados with
bouncing bombs ensued.
Some pennies slowly started to drop. I had an obsolete Tonka eating up space.
I remembered someone in the GB mentioning he was building a Lancaster that
included the Upkeep system, but that he hadn't used it. And I remembered playing
around with the Upkeep bomb and idly noticing it could fit, if only just, below
the fuselage of a Tornado (it depends a bit on which kit really, sometimes the
legs are just long enough, sometimes they're just a bit too short). A plan came
into being. The non-dambusting builder (I can't find or remember who it was, to
my shame) was kind enough to send me the surplus weapon. And then, sadly, the idea
failed to get off the ground due to all those other interesting projects.
Still, I tend to hang on to my crazy ideas better than to the sane ones, so neither
the kit nor the plan ever went away. and then this GB came along, and suddenly the
plan was irresistable. So, WWII markings, and a totally inappropriate payload will
be added to the parts in the box.
2017-02-01
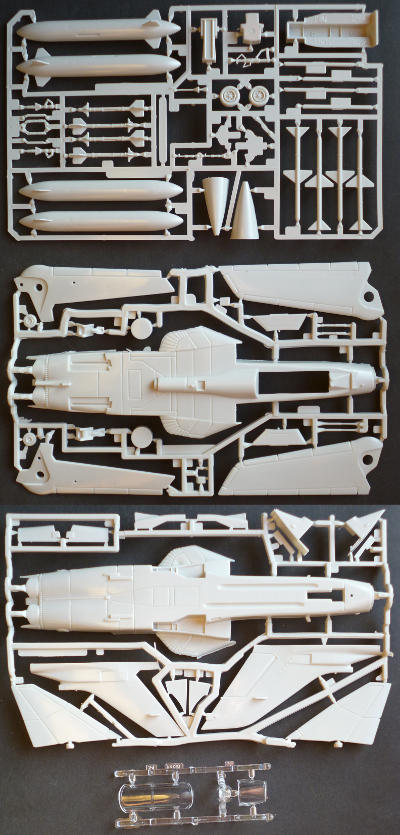
I've made a modest start on this one. Assembling the wings, nose cone, Zeppelin
tanks, and tail is about all I can do before joining the fuselage halves, and
that will have to wait until I've done some hacking of the lower half to accept
the "revolutionary" weapon it will be hauling along. The Upkeep weapon is from
the old tool Airfix kit, which means an early prototype of the bomb still in it's
wooden casing. Since this casing was invariably removed by impact on the water
without adding anything useful, the designers decided to remove it themselves,
so operational weapons were smooth metal cylinders. Due to limited space between
the undercarriage legs of a Tornado, I'll be placing the bomb rather closer to the
fuselage than on the Lanc, so the support struts had to be clipped. The plastic
doesn't like me; one of the pins connecting the supports and the weapon jammer up
solid in the drive chain while dry fitting and tore off, the other snapped off
while I was shortening the supports. I'll go shopping for some 1.5mm brass rod
later today to replace them.
The lower wings have been drilled to accept a set of outer pylons from the spares
box, which will be used to carry the standard RAF countermeasures pods, themselves
obtained from an Italeri Tornado that looked at a distraction when it should have
been paying attention
A decent sized bucket of filler will soon be going onto the wings and tail. I'm glad
Matchbox did much better work in their early day's, or I might have been put off from
the hobby right at the start
2017-02-08
I've spent some time dry fitting the Upkeep system. As of now, it's too high for
the legs, but I still have more clearance between the bomb and the fuselage, and
that's before I've sanded off the wood casing. We'll see where I end up after doing
so and cutting the braces down as far as I dare. I may end up having to extend the
legs a bit, which is a frightening prospect..
Width wise, the fit is perfect; it is exactly the same width as the space between
the undercarriage bays.
Rather ridiculously, the best fitting parts are those that do not belong with the kit.
I'll refrain from a long rant, but I've been expecting the kit to start barking at me any minute.
2017-02-12
I cleaned up the wings, and finally closed up the fuselage. The intended wing
synchronisation mechanism merely ensured the wings were permanently out of sync,
so I left it out, and fixed the wings at full extension (I want them there anyway;
a Tornado with lots of things under the wings doesn't look too good with the wing swept).
There'll be some more cement and a load of various forms of filler spent before the fuselage
looks anywhere near to what it should look like
2017-02-14
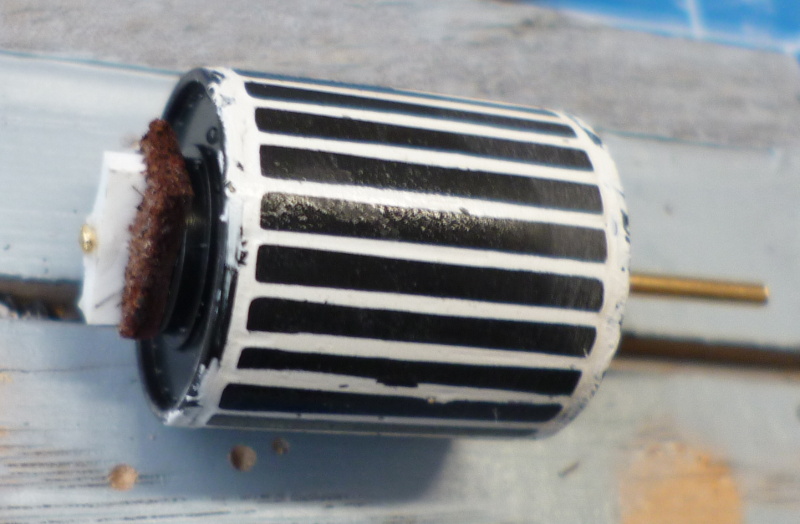
The Upkeep weapon very conveniently had holes in the centre of the ends, so removing the
wood ribbing was easy. An improvised attachment for the drill set the thing spinning, and
then it was just a matter of lightly pressing sandpaper to the sides and waiting for the
bomb to become smooth.
Further measurements on the weapon and the undercarriage once I've done some more sanding
and filing on the fuselage halves..
2017-02-16
I've squeezed all I could from the weapon and supports, and I'm coming up somewhere between
1.0 and 1.5 mm short (literally). Well within what I could fudge with the shock absorbers,
but modifying those is a terrifying prospect; less than 0.1 mm wall thickness left if I
try to cut out the piston and drill holes in the top and bottom to insert a longer one.
Fortunately, I've found a suitably wimpy cop out.
If I put a blanking plate on top of the rearmost ridges in the wheel wells all the way
to the back, I get just about the correct amount of extra height, without messing with
the legs. This, then, is the plan.
2017-02-21
The tail and nose cone went on today, and if you don't look too closely, it's actually
starting to resemble a Tornado. I'll be throwing a decent sided bucket of filler onto
it later today, since, obviously, neither subassembly felt any need to match up to the whole..
2017-02-24
I think I might be approaching the point where I've beaten the basic kit into submission;
after the next round of filler and sandpaper, I'll prime it to look for trouble.
I'm getting just a bit frustrated with this kit, to be honest. If it weren't for the fact
that I want to complete this bit of sillyness, rather than start over with another
sacrificial Tornado kit, I would have binned this insult of a kit by now.
2017-02-27
I've finally reached the point where I could close up the hull.
I've also discovered that there are, in fact, some parts that fit: the transparencies are
perfect, both in clarity and fit. We'll have a perfect view of a bare cockpit tub...
With any luck, I'll be able to complete construction tomorrow, and send this thing to the paintshop.
2017-02-28
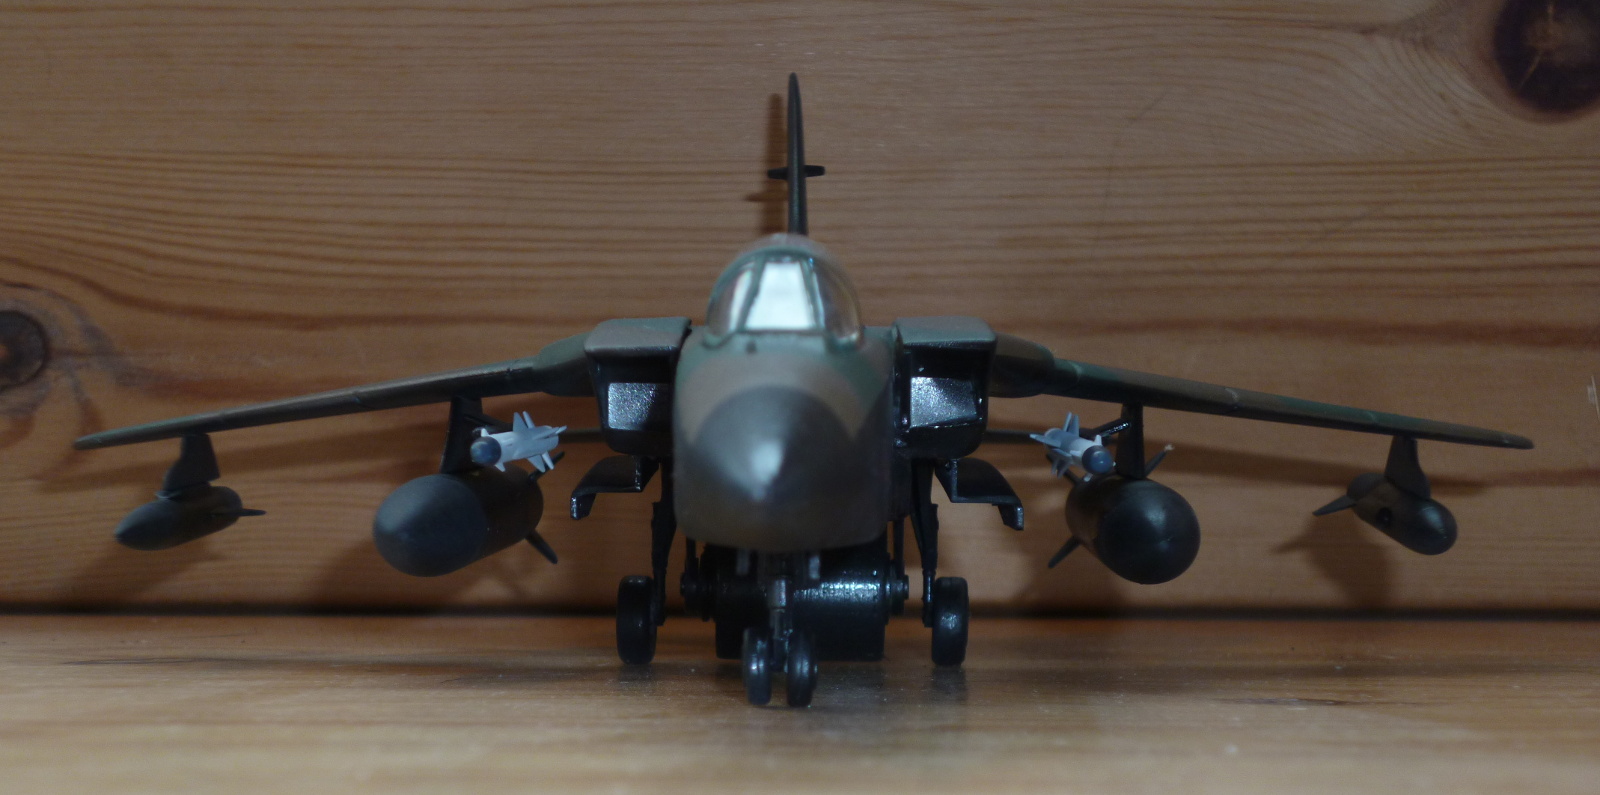
I figured the Tornado had (ahem..) finally earned it's upkeep, so I stuck it on. As
you can see, it actually has ground clearance. Sub millimeter amounts of it, but it's
there. It can even handle a few degrees (20?) of nose-up attitude before the wheels
start to have ground clearance, instead of the bomb. With an insanely smooth runway,
this should fly.
Although this can't be seen in the picture, there is equally minimal clearance between
the weapon and the fuselage; I know this only because the weapon can rotate freely..
2017-03-01
Apart from things under wings, front wheels, and gear doors, construction is complete.
The coat of Dark Earth is drying. Camo to be added tomorrow, along with some painting
on the stores.
2017-03-04
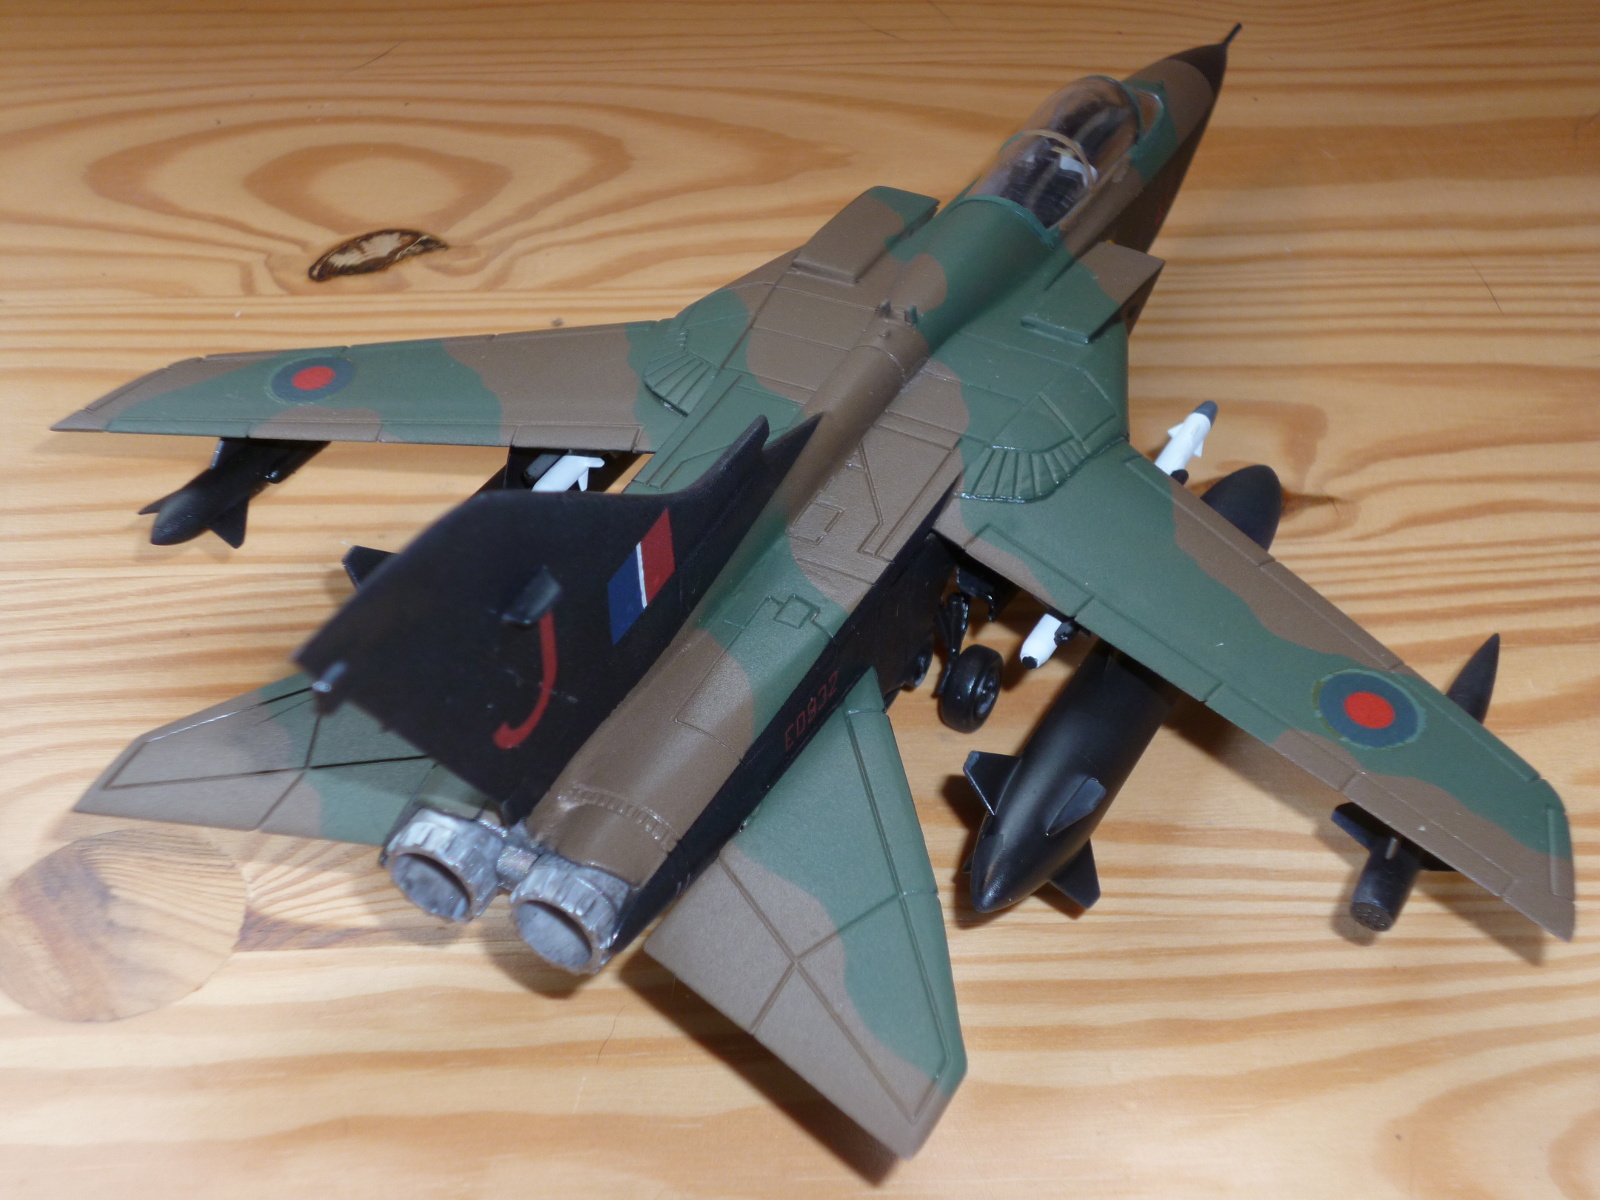
The masking tape came off the camouflage without showing any nasty surprises. Maybe
I'm learning after all.
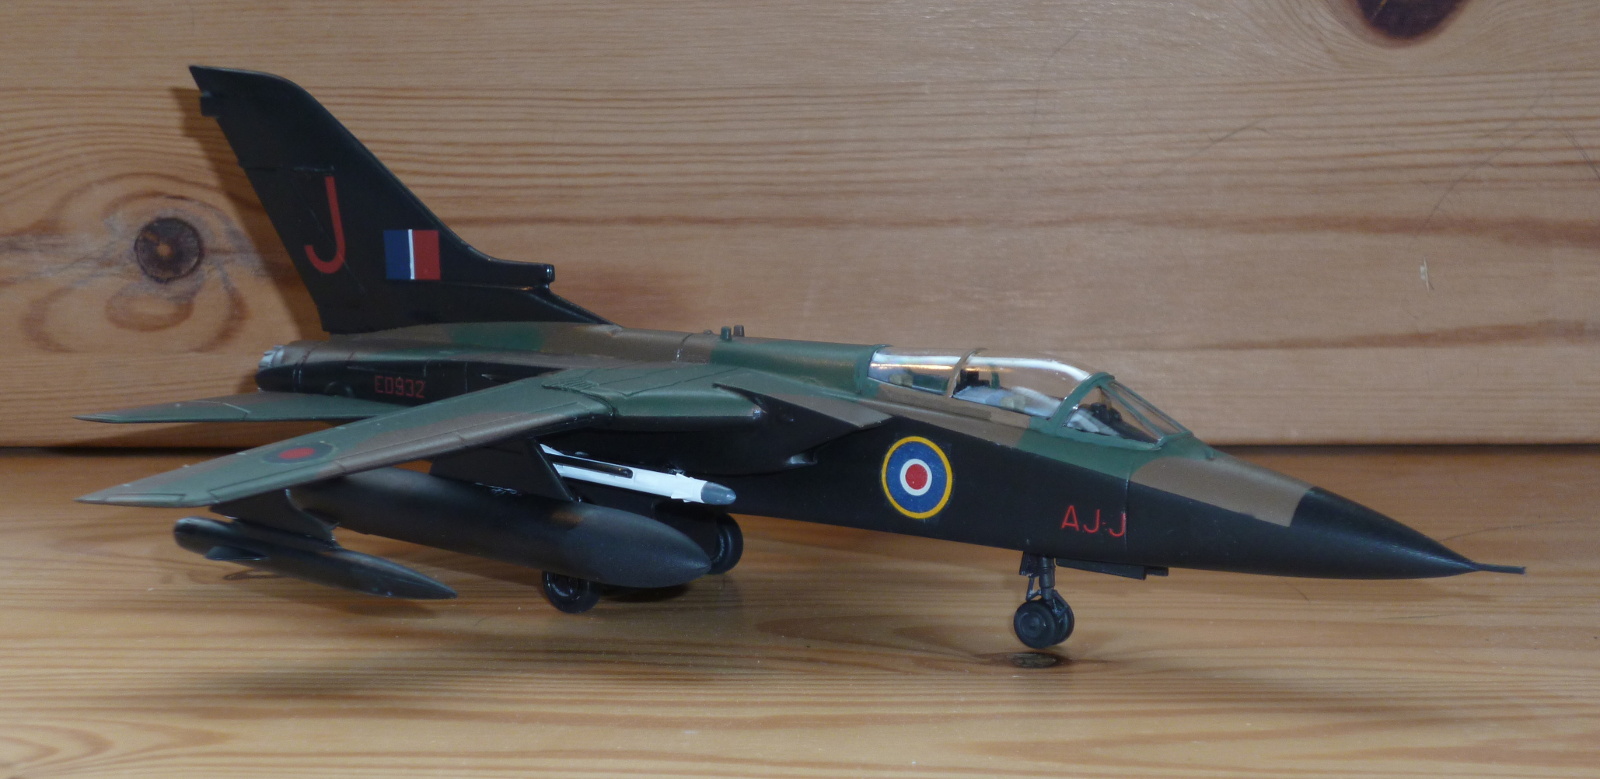
I think I got fairly close to what Bomber Command would have painted on a Tornado;
for very obvious reasons, there's no official pattern for this type.
2017-03-05
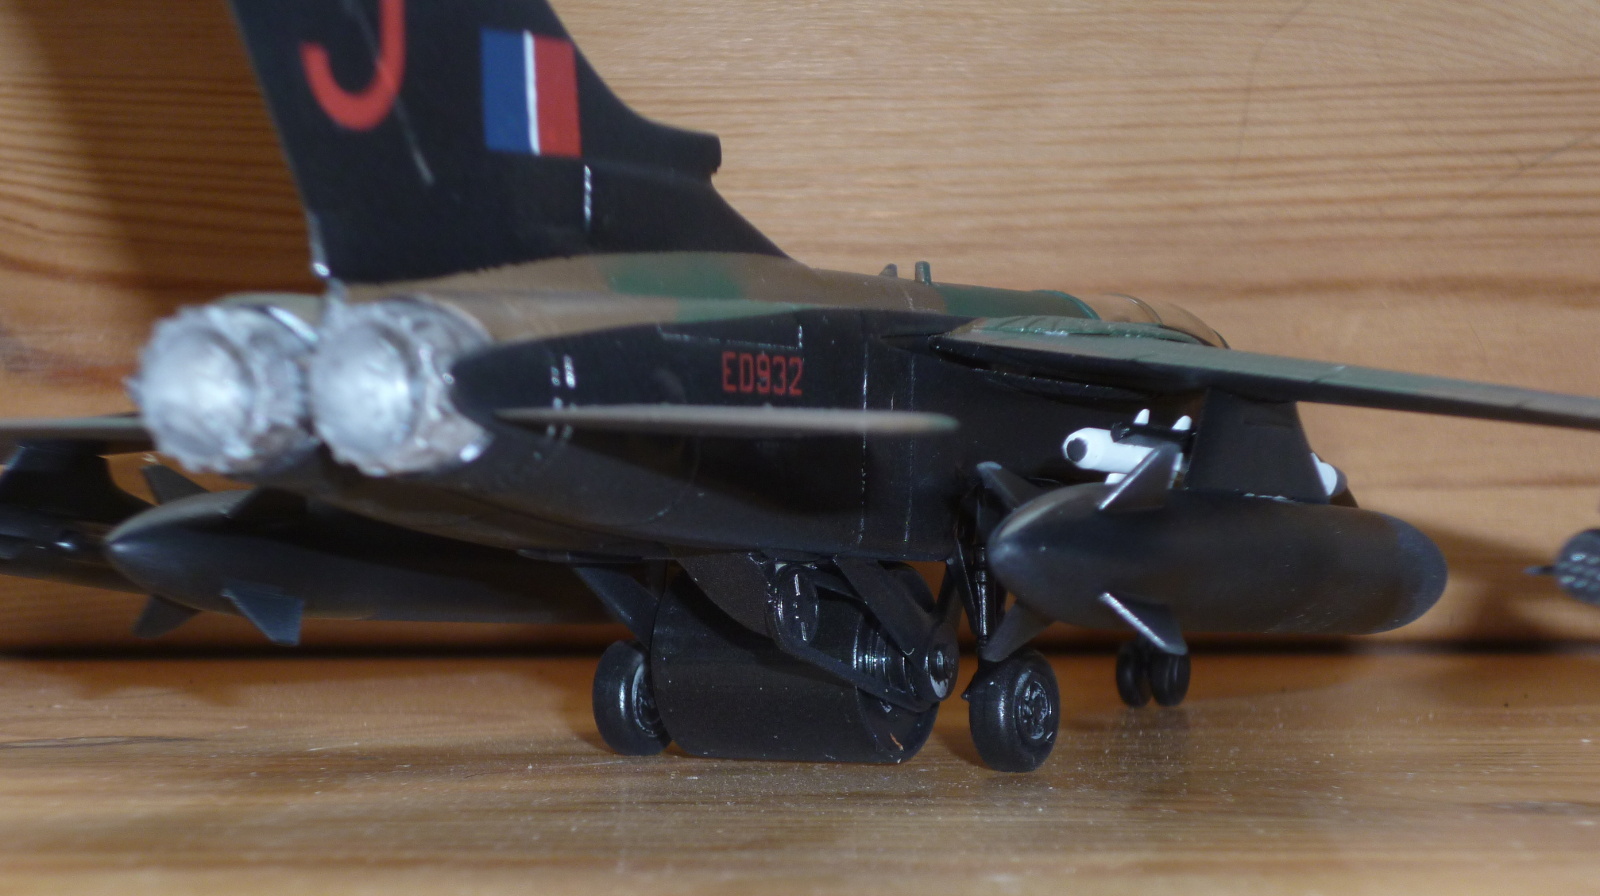
The decals went on today. A bit of a mishmash from the scrap decals bin. I figured
the large squadron codes were also used for in-flight identification of individual
airplanes, and the only area large enough for them was the big tail fin, where they
clearly don't belong. Even that didn't have enough room for full Lancaster sized
letters, so I chose to put just the plane letter there (so the squadron members
could see who's who in action), and repeat the full squadron plus plane code in a
smaller size, useless from any distance, on the nose. Perhaps medium sized markings
around the roundel on the nose would have been better, but for a whiff the decals at hand would do.
2017-03-06
It's done, all the remaining bits are on, and she's loaded for bear. Or dam, to be more precise..
|
|
Finishing materials:
Motip primer overallHu21 gloss black overall
Humbrol 'Airbrush' 29 Dark Earth top
Duplicolor Gloss top
Humbrol 'Airbrush' 30 Dark Green camo
Duplicolor Gloss overall
Microsol
Citadel Purity Seal overall