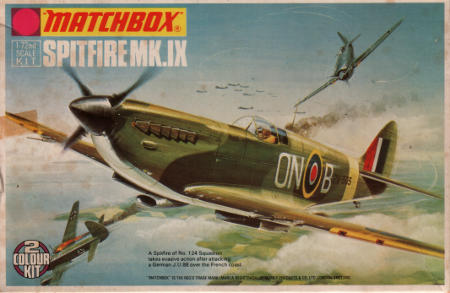
'Saturday Afternoon Special' Matchbox Spitfire
Project start
I doubt there could, at least for someone my age, be a more appropriate subject/victim for a Saturday Afternoon Special than a Matchbox kit, so I'll start the party with one of those. No paint will be involved, at least in the first stage, just multicoloured plastic and decals.
I'm probably a wierdo, but I don't think I ever treated models as toys with a "some assembly required" note attached. I think the very earliest dinosaur kits I built suffered use as toys, and the soft plastic Airfix figures and vehicles were certainly played to death, but not models built from kits. Honestly don't know why; perhaps being raised by craftsmen quickly infected me with a more respectful view of stuff build by hand. Whatever the reason, the closest I came to throwing a model together in the afternoon and playing with it in the evening was high speed construction of (mostly) Matchbox kits.
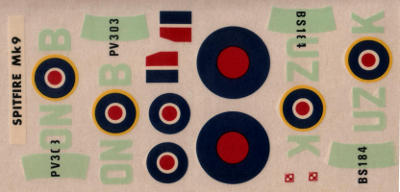
I still have a set of decals for this kit left from the old days, which will be helpfull when I dive into the second stage of this project, outside the GB context. Even as a kid, I occasionally picked up previously built bare plastic models, and updated them to what was then my current state of the art with a brand new paintjob. This Spitfire will take that path, with a second stage of hairy stick painting, with old fashioned enamels over a period of one or two days at most, and new decals. Not in accordance with the GB brief, but certainly in line with the nostalgic theme.
11:38
I've set up camp as I would have ages ago, on the dinner table. In a way this is
just silly; the table that serves as my workbench is the actual dinner table from
those days, so perhaps it would have been more appropriate to stay put. Still,
I figured it's the spirit that counts, and if nothing else it will avoid the
temptation of grabbing the extra tools lying around.
The tooling (just a knife, glue, and cement), minimal though it is, is actually too advanced for what I would have had
available at the time I was doing unpainted Matchbox stuff. In the interest of safety,
I was not allowed a knife at the time, but had to use scissors instead. As I still have
visible scars made by this safe tool, while not one of the occasional blood sacrifices
made by the later knife have left any persistent marks, I'll decline this level of authenticity.
12:06
"Lunch" is too precisely define a phrase for my chaotic eating patterns during vacations.
Wall clock says a bit after noon, so it's afternoon and I'm kicking this off..
12:43
The prop assembly is complete, the wings are assembled, and now the cement has to
cure to avoid ending up with yet another stuck prop.
I've done some preliminary fitting on the pilot seat (needed some extra room on
the blobs it sits on), and as there was no reason not to, added the engine exhausts,
which nearly cost me some very authentic fingerprints on one of the fuselage halves.
I'll never learn..
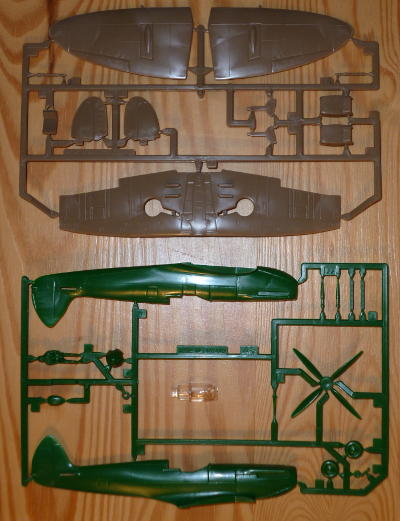
There is a notable differentce between the plastics used for this kit. The green
plastic is rock hard, almost brittle, while the brown plastic quite soft. Funny
how I never used to notice that sort of thing in the past, or at least, didn't remember it.
13:21
Hull sealed and wings added. Now sitting on a pair of matchboxes while the cement cures.
14:15
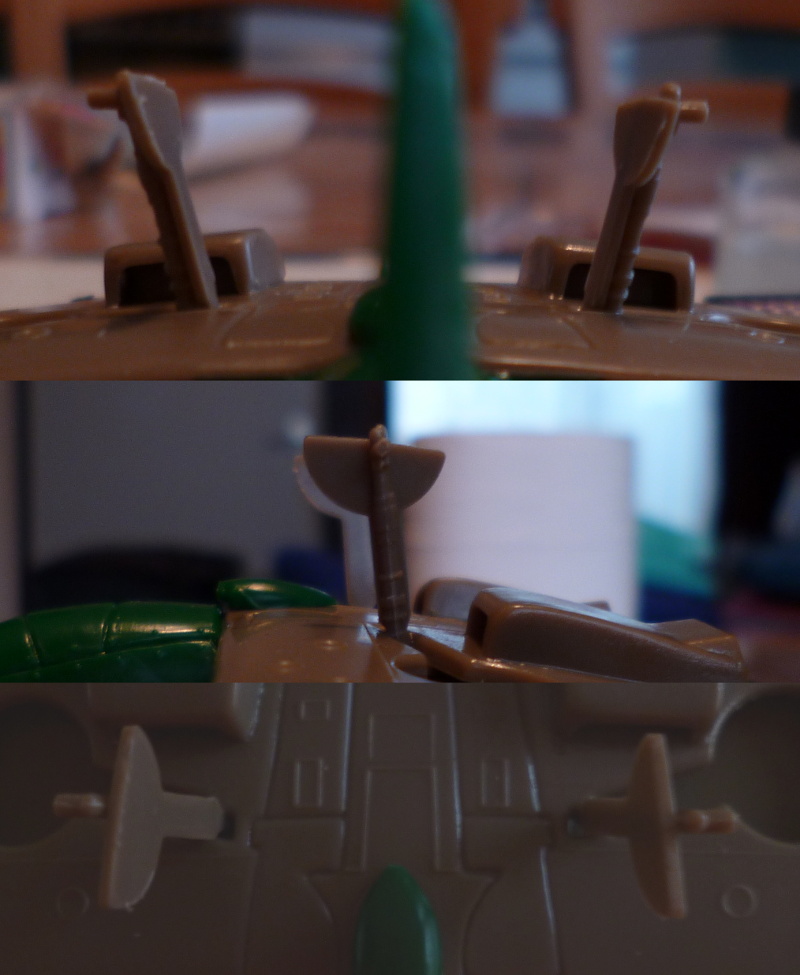
Added the tailplanes, tail wheel, and "things that look like they take in air". The
undercarriage looks nightmarish. I think the best bet to get it on somewhat right
is to start by joining the legs to the doors, so that's what I did. If I'm wrong,
a certain degree of constructive violence cannot be precluded..
The cats seem to have caught on to the whole divebombing thing. One sadly mentioned
the effects trauma-induced panic attacks could have on my workbench, and the other
lectured me with considerable enthousiasm on millions of years of genetic optimisation
towards the violent demise of low flying targets. I may have to consider skimping on that part..
14:37
I think it worked ;-)
Some more curing called for, this is fragile..
15:16
Construction is complete, save for the guns and the antenna. My only modern compromise
so far has been to use CrystalClear to attach the canopy, since that will make it
easier to remove the canopy for later painting of the interior.
I haven't parked it on it's own legs yet, as the wheels still need to cure.
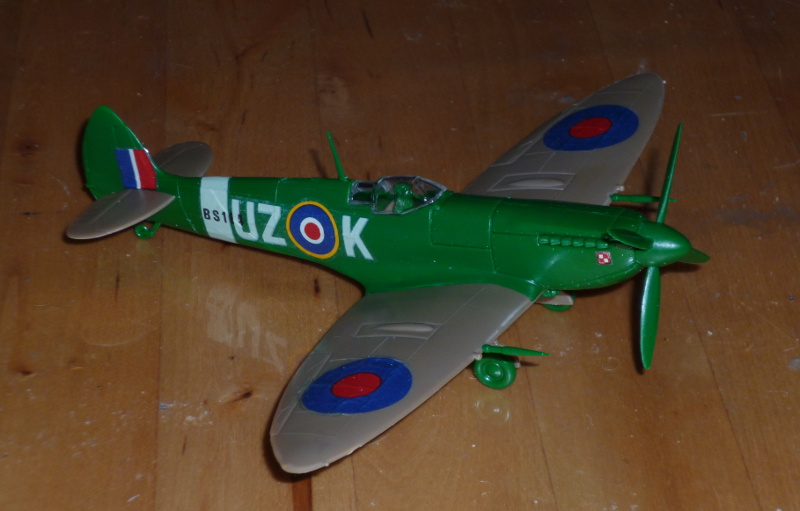
Couldn't resist sticking on the first decals though.
16:19
The build is essentially complete, all that remains is patience while the chemicals do their work.
Now comes the hard part: leaving it alone for long enough.
16:55
I'm calling this done.
|
18:11
I've changed my mind about that second phase. Without fixing some minor but very
visible issues this will not become a display model I'm happy with, and fixing
those issues will require materials and tools not available in nostalgia mode.