/common.jpg)
/gr1.jpg)
Dambuster group build Tonka Twins
Build thread and here.
I may have to revise my opinion in the coming weeks, but judging by the contents of the box, Revell
have produced the best Tornado to date. It is certainly better than the Hasegawa; where the Hasegawa
would definately benefit from some update stuff (the Flightpath set comes to mind), the Revell seems
capable of that level of detail out of the box. Looks like these will be really hard to beat.
One of these will become the Dambuster commemorative GR4, the other an operational GR1 in wrap-around
camouflage, armed with Sea Eagle missiles.
2013-05-17
Revell have tried to be too clever with the wings. They've built a very elegant mechanism to let the
pylons swivel with the wing sweep, in fact the best I've seen so far. However, this mechanism requires
the pylons to be at straight angles to the wings. The wings themselves droop by about 5 degrees (both
on the kit and in real life), and keeping the pylons at straight angles to them points them very clearly
inwards. Not only does it look ridiculous, it is also incorrect; all images I can find show the pylons
perfectly vertical, and at a slight angle to the wings. Nice try guys, but I'll be chopping the pivots
off and fixing both wings and pylons in the wings forward position.
2013-05-19
Spent today and part of Friday making what seems like a million subassemblies. Fit on the Hindenburg
tanks was lousy, and some parts of the air intakes were drowning in flash, but other than that, the
kit largely builds itself.
The rear fuselages are not glued up yet; I've yet to make up my mind what to do with the gaps that will
be left with the wings in the forward position, and will need to look at some pictures of the real thing first.
The interior is ready for painting, which should see a lot of work tomorrow.
2013-05-22
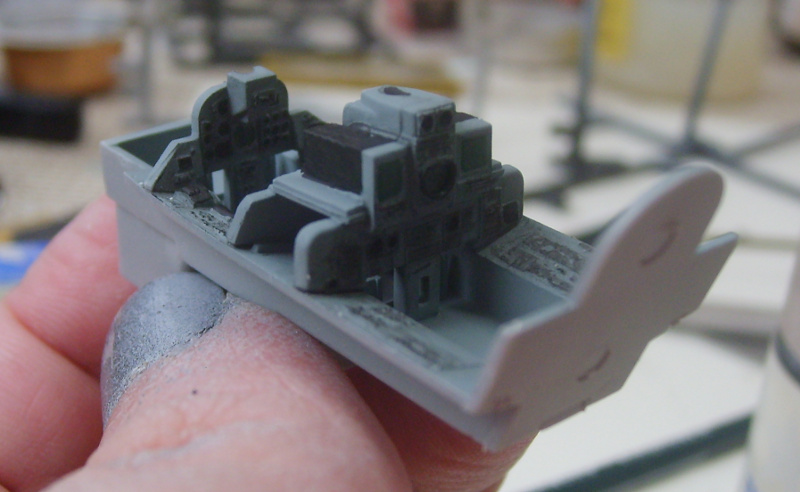
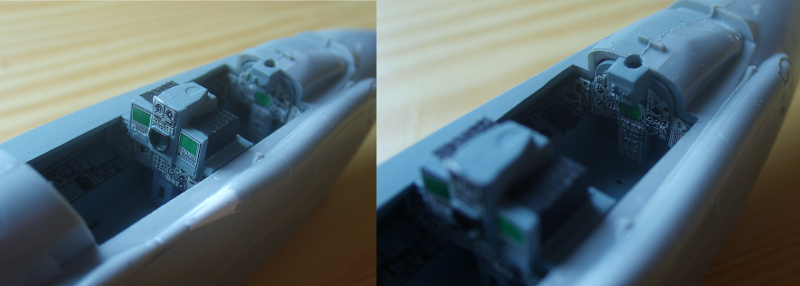
I did manage to get the cockpit tubs painted grey. After that, I had to choose between using the decals supplied
by the kit, and painting the interior by hand. I decided to do one of each, just to see the results. To be honest,
I'm not satisfied with either. The decals mostly look good, but I'll never be able to produce an exact match to
the background grey of the panels, which will therefore always look silly. The hand painted one, on the other hand,
fails to produce passable side panels in the rear cockpit, and the MFDs just look a lot better on decal. This calls
for a third option..
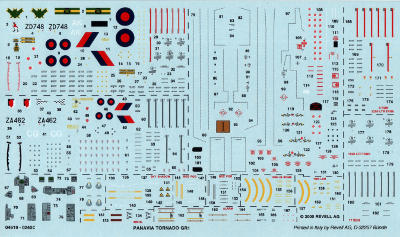
 I was already wondering what to do about the decal sheet I was preparing for print. The commemorative tail took up
about 1/3 of the total sheet, and a few odds and sods (including the invasion stripes for the Mustang fuselage)
would take up enough to bring that to half, but that still left an awful lot of wasted decal space. I decided to
strip the side panel and MFD decals from the kit of their background colour, and add those to the print job. Also,
I was going to need markings for those Hindenburg tanks that came with the Flightpath set, so those were added too.
This made for a respectable level of fill. It did end up costing me almost two days of work though.
I was already wondering what to do about the decal sheet I was preparing for print. The commemorative tail took up
about 1/3 of the total sheet, and a few odds and sods (including the invasion stripes for the Mustang fuselage)
would take up enough to bring that to half, but that still left an awful lot of wasted decal space. I decided to
strip the side panel and MFD decals from the kit of their background colour, and add those to the print job. Also,
I was going to need markings for those Hindenburg tanks that came with the Flightpath set, so those were added too.
This made for a respectable level of fill. It did end up costing me almost two days of work though.
2013-05-26
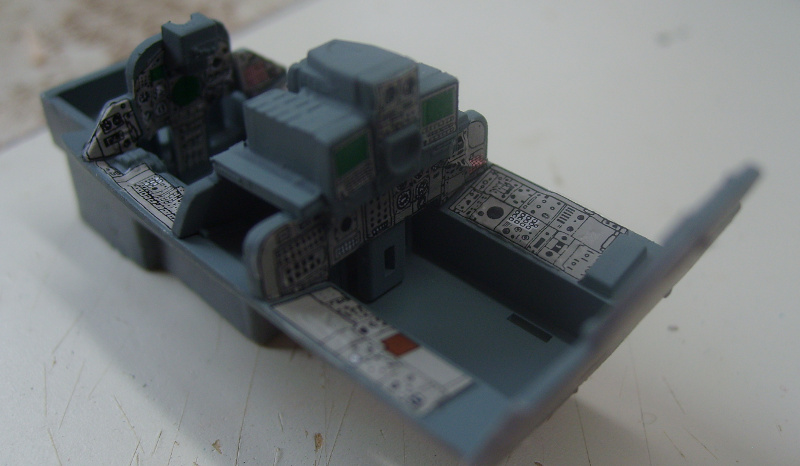
I've finished most work on the cockpit interiors. The side panels on both were replaced with newly printed decals
with only the instruments on them. The painted one also had the drybrushed MFDs replaced first by the black-only
decals (nice, but not good enough) and then by the kit decals. Results shown (painted right, decals left).
I prefer the mixture of paint and decals over the all-decal cockpit, so this tub has been selected for the
commemorative plane.
With the cockpits now far enough done, I could seal the forward fuselages, and join them with the rear ones.
It turns out fit between the rear fuselages and just about anything else isn't all that great, and will need
some filler and sandpaper work.
|

|