Bandai A-Wing
Project start 2016-08-06 22:45
Due to the minimal painting and glueing requirements, the new Bandai Star
Wars kits just beg to become blitzfodder, and who am I do disappoint them..
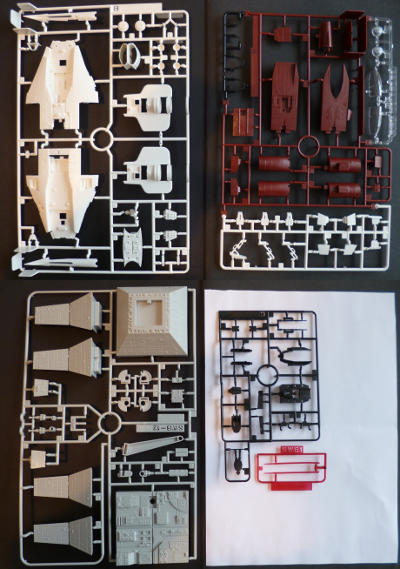
Inside the box is the expected bunch of multi-coloured sprues. Since the
A-wing is really a little runt, Bandai decided to fill out the bow with
a rather more elaborate base for this one, including a Death Star surface
tower, which takes up a complete sprue.
Painting requirements may be limited, but there is some work to be done
there, and paint needs time to dry. A lot of time, unless you use acrylics,
and acrylics needs primer, which brings me right back to paint needing a
lot of time to dry. Ideally then, I'd do the priming on day one, get some
sleep, and continue on day two. Problem with that is that in this case, I
can't just indiscriminately blast primer over everything, and I'm not really
up to precise masking at the end of the day, in the dead of night, before
staggering into bed.
So, I'm going to try something daft, and use gloss varnish as a primer.
This will, hopefully, give the acrylics I intend to use for actual painting
something to hang on to, serve as a decent base for the decals, and keep
the colours as they are. Exception to this is the pilot, which will get the
more traditional grey primer.
Down side to all this: this blitz is going to have a really boring start
late today, with the action only starting when between 8 and 10 hours of
the allotted time have passed tomorrow morning.
2016-08-07 09:59
Right, I'm back, and in trouble..
The idea with the varnish as primer failed. The sprues spent the
night in the shed under a lid (for protection), ie, in a cool, dark
place without airflow. Guess what, they're still very sticky... Well,
the glossy ones anyway. I used a different varnish on the base, and
that at least is perfectly usable. The main ship sprues are now parked
outside, in the sun, and in the wind. Hopefully this will teach them
some manners in a hurry, or this will go from a blitz to a fizzle in
no time flat.
For more entertainment, the sprue gates on the canopies spill over
into the clear parts, and will take careful removal and restoration.
I need tea...
2016-08-07 10:48
Rather than twiddle my thumbs while the varnish dries, I built up
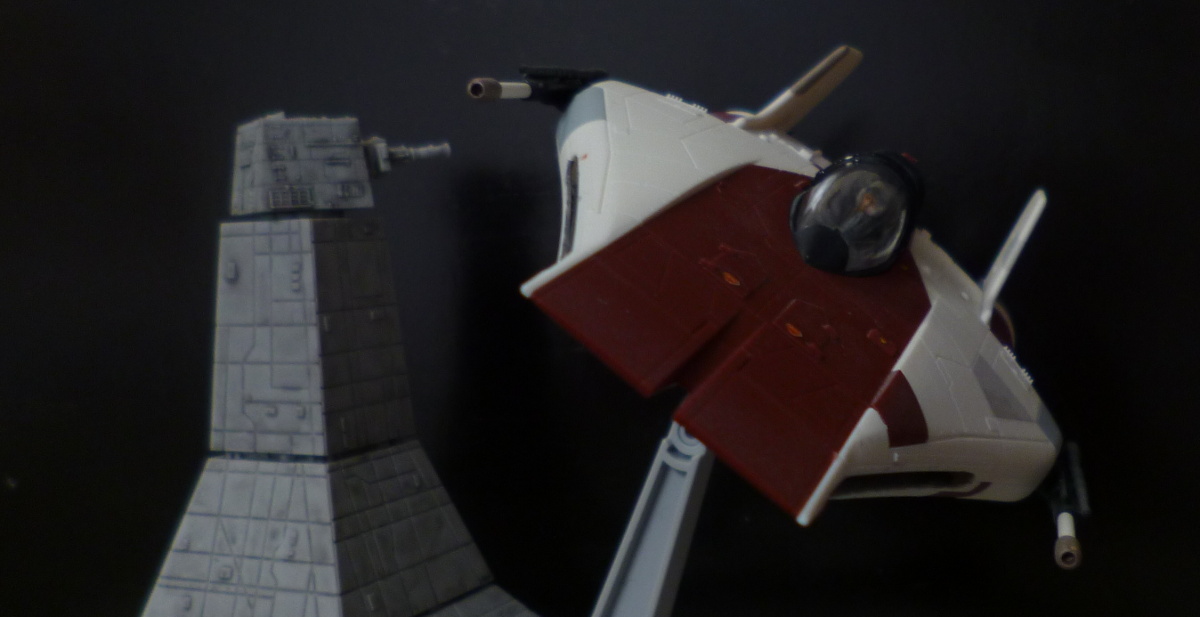
the flak tower that is part of the base.
The kit has the geomorph with the pole for the fighter mounted directly
next to this one, but while the A-wing is insanely agile, I feel this
is just too close. Fortunately, I have a leftover geomorph from the
X-wing still cluttering the bench, and I suspect sticking that one
in between will make a spectacular setup.
2016-08-07 13:23
The primer/varnish been sufficiently dry since about 12:30. Other
than drying speed, the trick worked quite well; the Vallejo paints
I'm using for spot painting like it as a base coat.
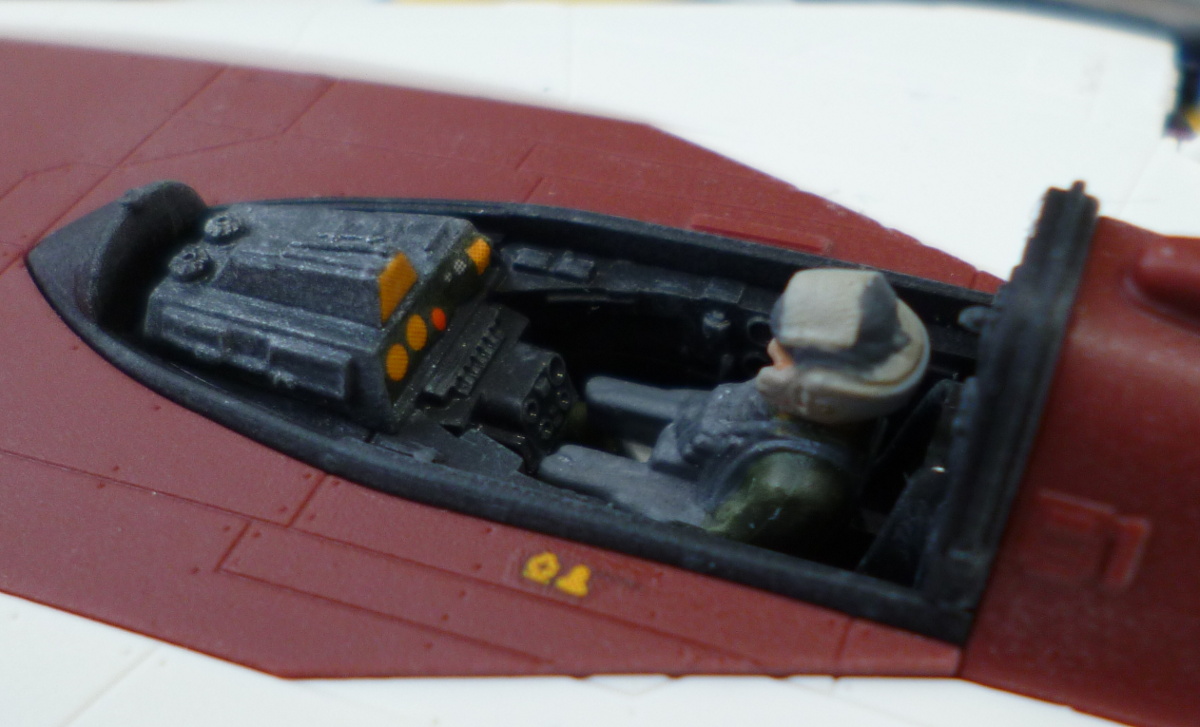
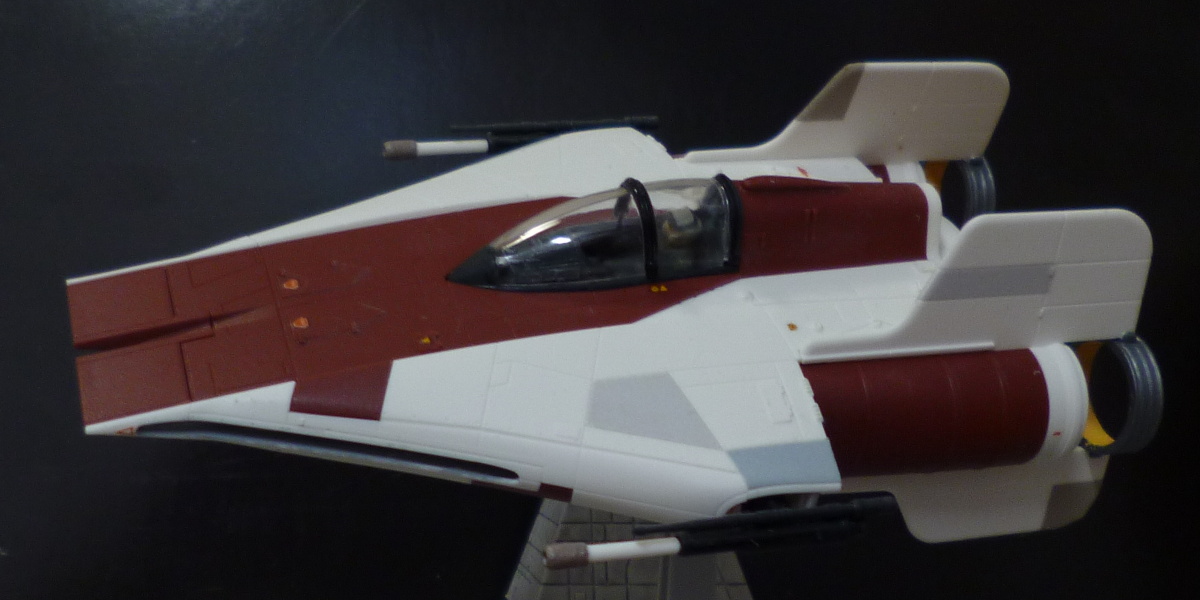
I've built up the cockpit module, and hit it with some dry brushed
'basalt grey' and 'natural steel'. The engine 'tunnels' have been painted as well.
I've cut out the canopy as best I could, and put some Humbrol Clear
over the 'wound'. I'm hoping this will seep into whatever minor cracks
there are in the material, in preparation of (possibly) a covering of
Crystal Clear followed by sanding/polishing/more clear. With any luck,
that will result in a presentable canopy.
2016-08-07 15:03
These kits really keep you busy; there's never a good reason to stop work,
since there's no glue to set or, mostly, paint to dry. Note, for giggles,
that I haven't used any glue so far.
2016-08-07 15:53
Construction is almost complete, only the pilot and the canopy remaining.
Down to decals and further washing of the turret now.
2016-08-07 17:50
The decals are on, and drying prior to getting hit with Microsol.
The pilot is painted and ready to roll.
2016-08-07 20:07
The decal solvent evaporated with commendable speed, and the final coat
of matt varnish dried similarly. A final peek into the office, before
closing things up, and after that the canopy went on, and I had a
completed kit sitting on the bench. Time to buzz the (flak) tower..

|
|
|
|
I may have to take back that remark about the A-wing being a little runt; tail-to-tail with the (at first impression much bigger) X-wing. The A-wing is shorter and narrower than the X-wing, but it completely fills all that space, unlike the X-wing.
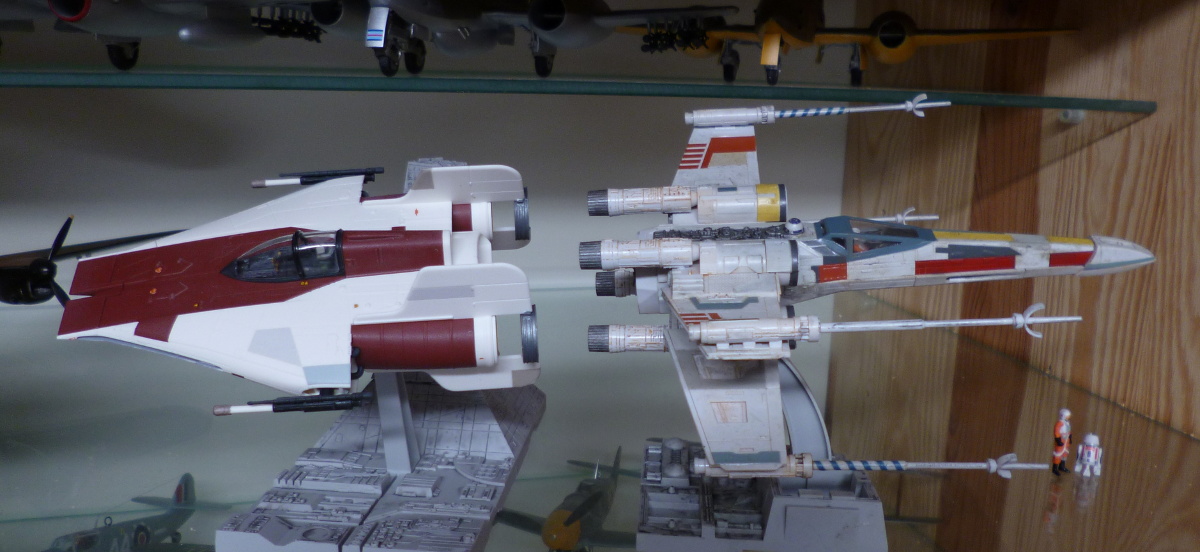
All in all an enjoyable little build. I only had to cheat once with a very small spot of cement (in an all but invisible spot), other than that, this was built entirely as a snaptite, and mostly unpainted too.