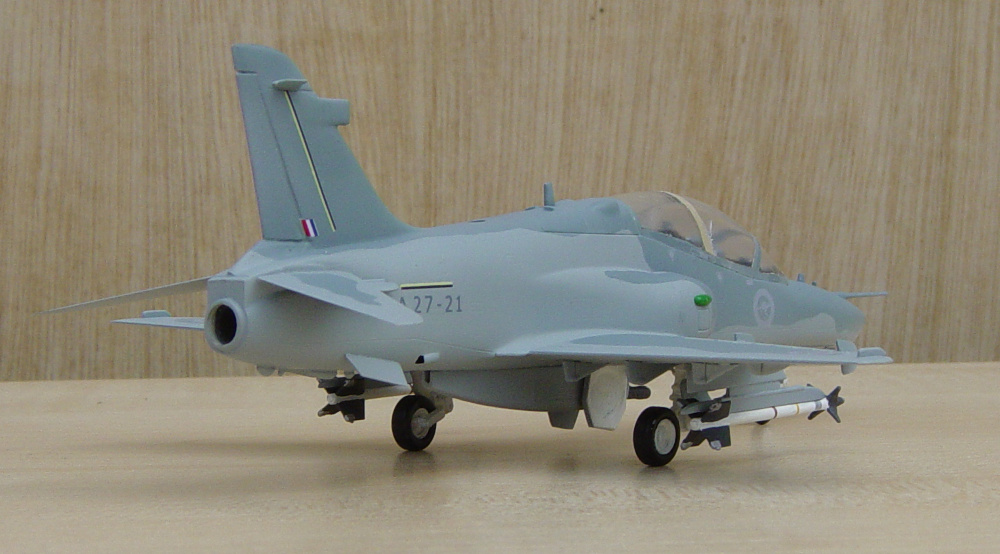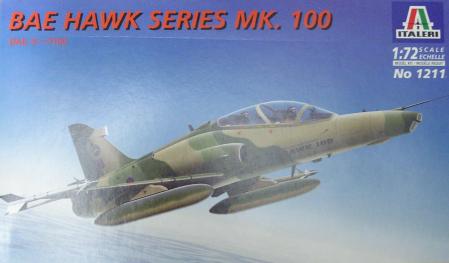
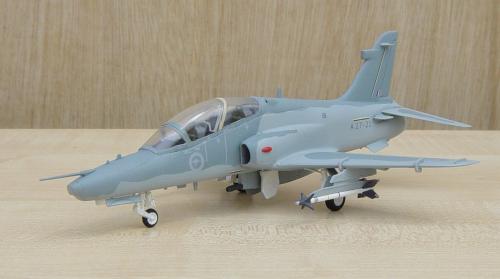
Italeri Bae Hawk 127 of 79sqn of the RAAF
This particular kit has special significance to me, because it was the first kit
I built after an absense of may years from the hobby, which in turn was part of
a rather major refit of my life in general.
Once I'd decided to return to modelling, I needed something to work most of the
rust off my skills. For no particular reason, I picked up this kit at the local
toystore, and dug in. Now, admittedly, I was going to do more that just get rid
of the rust, some new things were also going to be tried. For example, I'd picked
up a good quality airbrush in the years that I wasn't actively building (lingering
results of the earlier byte by the bug), and it was also the first kit to be built
with the resources of the internet as a reference. Boy, did that ever make a
difference!
As I knew exactly nothing about Hawks in Australian service (the very fact that
there even were such Hawks was learned from the kit), I decided to send Google
after some info. From the result, I learned that the decals that come with the kit
are much too dark, so I went shopping for a replacement, in the form of a set
by Aussie Decals, which I then tracked down at a store I'd also found on the net.
While I was there, I also picked up a set of aftermarket ejection seats because
the ones that came with the kit didn't look like the real thing at all. First set
of aftermarket parts I ever used.
Also from various internet sites, I learned that the underwing tanks that came with
the kit were the wrong shape, and that that big, boxlike contraption beneath the rudder
didn't belong there at all. Not fitting the tanks was a trivial solution to the
first problem, but the box was going to take some doing to remove.

As work progressed, I realised that minor inaccuracies I would once have accepted
irritated me. I like to think this means I've become more quality and accuracy
sensitive, and that this will increase the quality of the kits I build
significantly, but in all honesty, I suspect that in reality it means that I've
become a horrible nitpicker, with a lot more ambition that talent. Still, I think
the kit turned out rather nicely, so maybe there's some truth in my deceit after
all.
Back to the kit. In general, it builds very well, with little need for filling
except around the intakes. Other than the tail box, some inaccuracies are
instrument panels showing a whole bunch of analog clockwork, where these planes
have digital cockpits, and three wing fences where there should be only two.
Minor issues, that can either be corrected easily, or ignored, as I did with the
instrument panels. Of course, the fact that I found out about the digital
cockpits after I'd spent a whole load of time getting the analogs just right
might have had something to do with that decision. The instructions indicated
some weight should be added to the nose, which I dutifully did before realising
I was going to put metal ejection seats in. Definitely made me feel stupid.
I found removal of the tailbox much easier than I had feared. A few vicious cuts
with a razor saw sent the box packing, and the reconstruction of the tail section
was a matter of smoothing in some milliput, with some sanding to finish the job.
The whole job took maybe two to three hours.
When the kit was almost completely assembled, I ran into the one part of it that
I really, really don't like: the canopy. It consists of three parts: the windscreen,
the actual canopy, and the divider between the front and rear cockpits. The
windscreen and canopy almost fit the fuselage, which is not really good enough,
and the divider fits snugly into the canopy about 2 mm to the front of where it
should be. The canopy and windscreen have frames incorporated into them, but
instead of a crisp demarcation between them, the frames sort of ooze over into
the glass bits. This is no fun to try and paint accuately at all. I did my best,
but with these parts, that's just not good enough.
Once the canopy drama had played out, it was time to paint the kit. Unhindered by
previous experience with good quality tools and supplies, I masked and airbrushed
away. The result was a relevation. I got a nice, even finish, and the paint
stayed mostly where it was supposed to go. True, there were some problems, like
paint coming of the canopy with the tape, but this was the first attempt, and
even I am not arrogant enough to expect total succes on the first shot. I
suddenly understood why people were always going on about how great airbrushing
worked.
Last but not least in the new-and-improved modelling experience were the decals.
First time I used aftermarket decals, and first time I worked with setting
fluids. I must say I really liked what I saw in that respect.
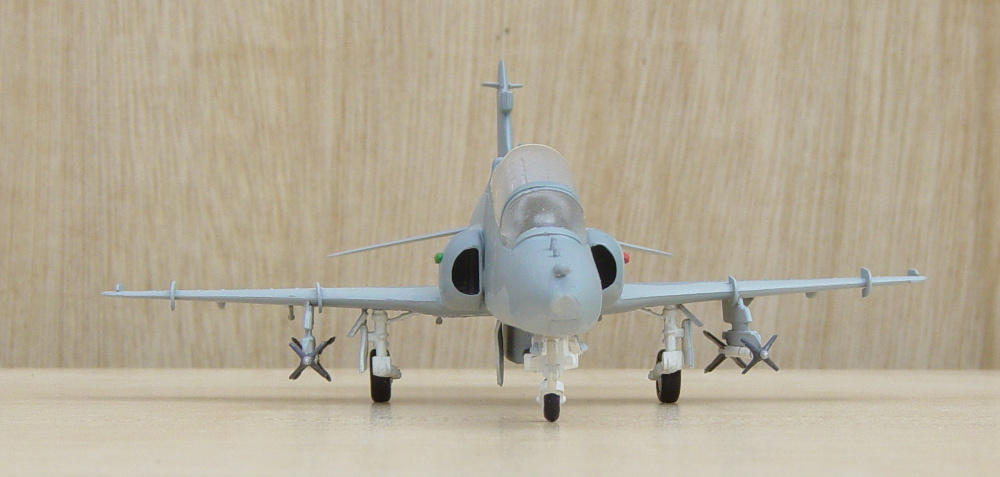
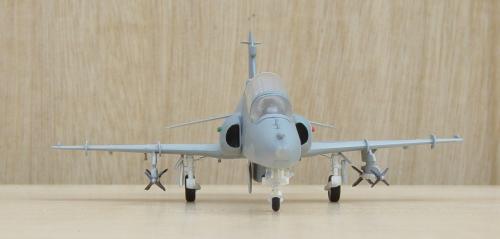
Some words about the weapons load on this plane: it is just plain wrong. The kit
came with wingtip sidewinder rails, as is correct for all RAAF Hawks. However,
despite the facts that it flies, and that all those enigneers at Bae know a lot
more about what an aircraft should look like than I do, I felt that they just
didn't look right, so I left them off. The underwing rails are to the best of my
knowledge possible, although I don't know if they are ever carried.