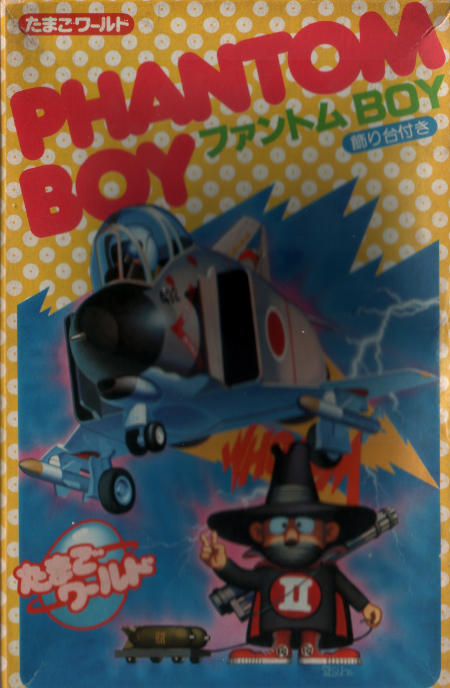
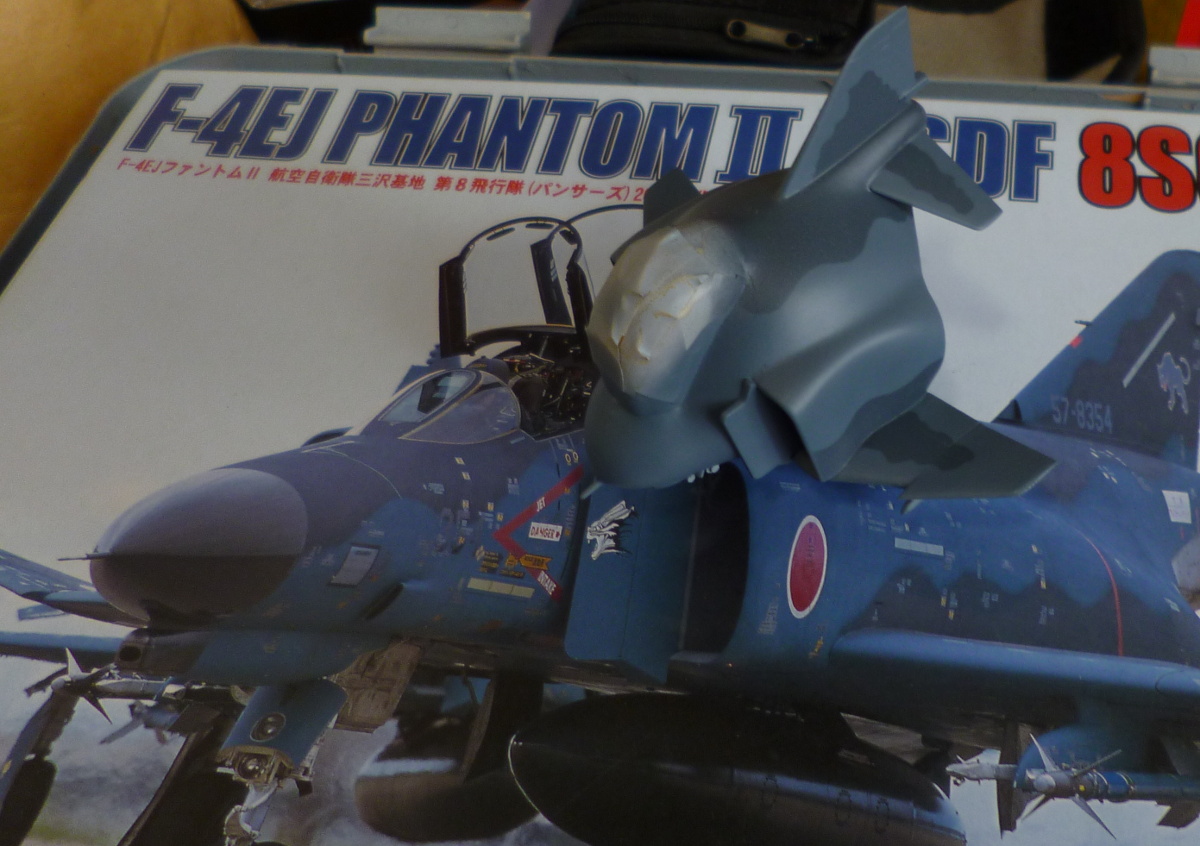
2013 Easter Egg : F-4EJ Phantom
2013-05-17 Project start
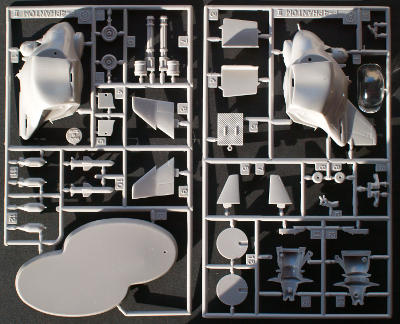
This project kicked off all in good cheer, with fairly straightforward assembly, a bit of filling and sanding,
some hairy stick paintwork, the usual. Reached the point where the plane was primed and ready for paint without
incident. And then, everything went down the tubes real fast.
The kit offers the choice between an American in SEA camo, and a Japanese in grey-white. This being a typically
Japanese form of sillyness, it had to be Japanese of course, but I've always loved the blue camouflage used by
the maritime strike squadrons of Misawa airbase, so I decided to use this kit as a test for these colours. Good
thing I ran a test too, but not so much for this project.
The kit shows no colours for the Misawa pattern, but I have several others that do. Of course, these colours are
all specified in term of Gunze/Mr Color paints, so the callouts had to be converted. As near as I could determine,
that should result in Hu25 Blue and Hu77 Navy Blue. It turns out, however, that 25 is way too bright for the job,
while 77 is just very dark grey, with hardly a trace of blue in it. The result is just plain horrible.
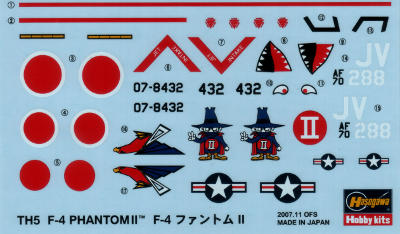
Regardless of accuracy, I was going to settle for it; it didn't matter all that much that the colours were wrong, as long as they looked properly whacky. So, on with the decals. The decals from this kit had yellowed a bit, but a few weeks in bright sunlight had fixed that. Other than that, they looked good. There was just the minor issue that they completely refused to come of the backing paper. They might as well have been printed on normal paper for all the movement I could get from them. The hunt was on for fitting markings. After a few hours digging in the scrap pile, I found some that looked promising, and started sticking them on. Some promptly disintegrated. What was left, only made the already dodgy paint job worse. I decided enough was enough, and dunked the whole mess in caustic soda for a full reset. No successful eggplane project this year.
Beside a messed up kit, this also left me with a pair of problems.
First, and most relevant, was the question of correct colours for a Misawa airplane. I have several in the stash
that are destined for these colours, and the theoretically correct colours stink. So, off I went to the LHS with a
Fujimi box with a beautiful photo of a Misawa Phantom on it. Hu96 RAF Blue is a very close match for the darker grey,
but I had to test three candidates for the bright blue. Hu144 Intermediate Blue wasn't even close, Hu157 Azure Blue
was, but Xtracolor218 RLM24 Dunkelblau was clearly the best. This is annoying, since Xtracolor is dying out around
here due to shipping problems, so I relieved the LHS of all they had in stock.
The second problem was that I still didn't have the decals to properly finish this egg. Although without the ground
base and accessoiries, this particular kit is still in production, and to my pleasant surprise, Hasegawa updated the
decals included, by adding a replacement set for most of the original markings. In other words, current editions
contain stencilling for two kits. A further exchange of money for goods followed. That left a few easily reproduced
bits for the ALPS.
With any luck, the Phantom will be back for a re-match next year.
2017-01-15
Well, it's been rather longer than a year, but the Phantom eggs have lingered on, and may actually hatch sometime
soon. I've repainted the cockpit and pilot, repaired the canopy (sprue gate damage, so nothing to do with the reset
of the project, but simply something I would not have risked in 2013), and stuck it back on. Cleanup of the base
has started, and the figure has been inspected and found to be ready to continue work on without further corrections.
2017-01-17
I just realised that Gunze paints are somewhat available around here now. Great opportunity to test the way
they handle, and see what colours the folks at Hasegawa and Fujimi had in mind for the maritime blue scheme.
Paint should be on the way.
The canopy is back where it belongs, but needs a bit of filler on the rear edge. I've made an attempt with
Vallejo putty, but it tore out when I tried to sand it over. Great stuff, but difficult to sand. Cleaned off
the mess, with the intent to re-mask and then hit it with my more usual solvent based stuff.
2017-01-23
The Gunze paints duly arrived. I must admit I don't get an immediate warm fuzzy feeling about the colours.
They may well be theoretically correct, but they still seem too grey and not blue enough when compared to
pictures of the original machines. I'll take them for a spin anyway, and see what the result looks like,
but I think there's a very real possibility this kit is going to get painted three times..
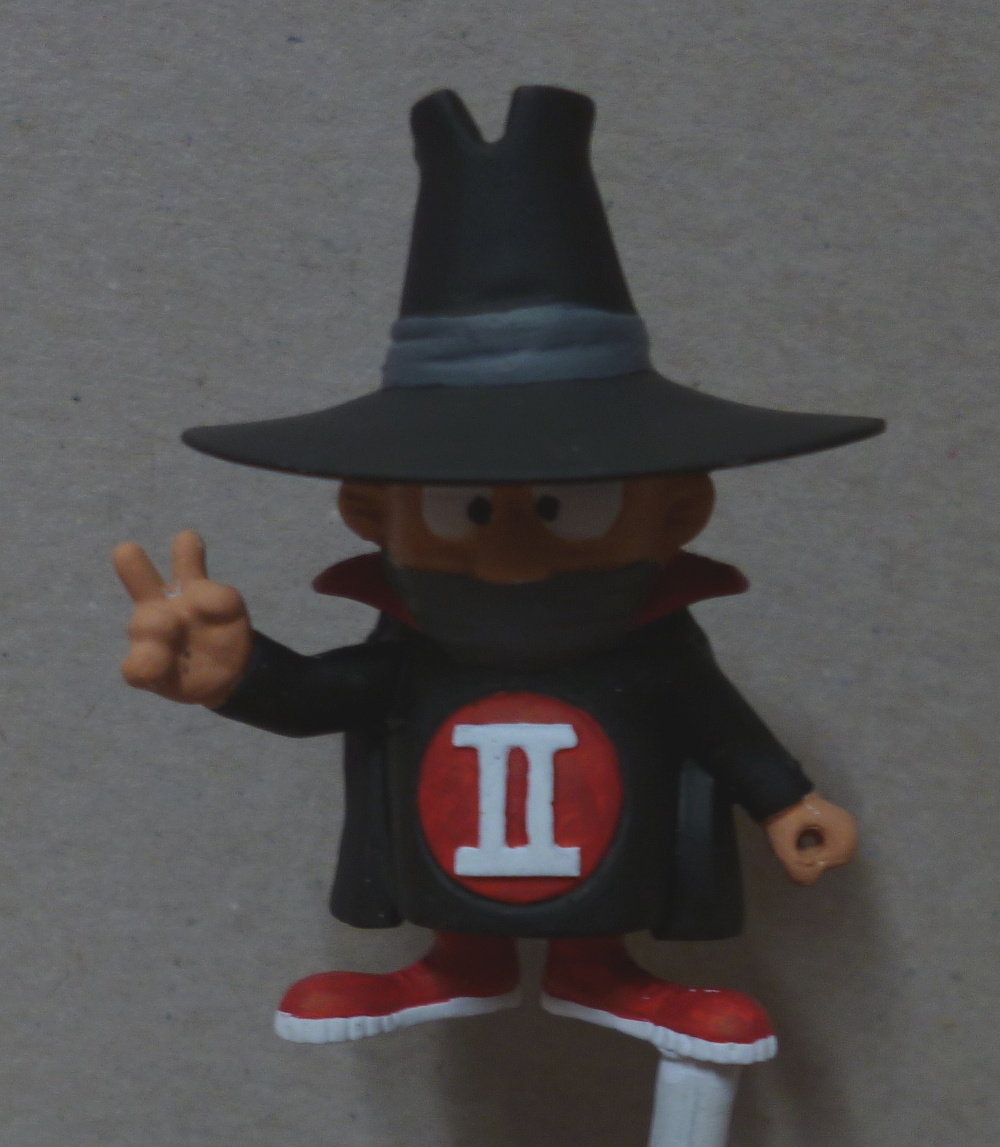
On a more positive note, Spook is ready for action.
2017-01-27
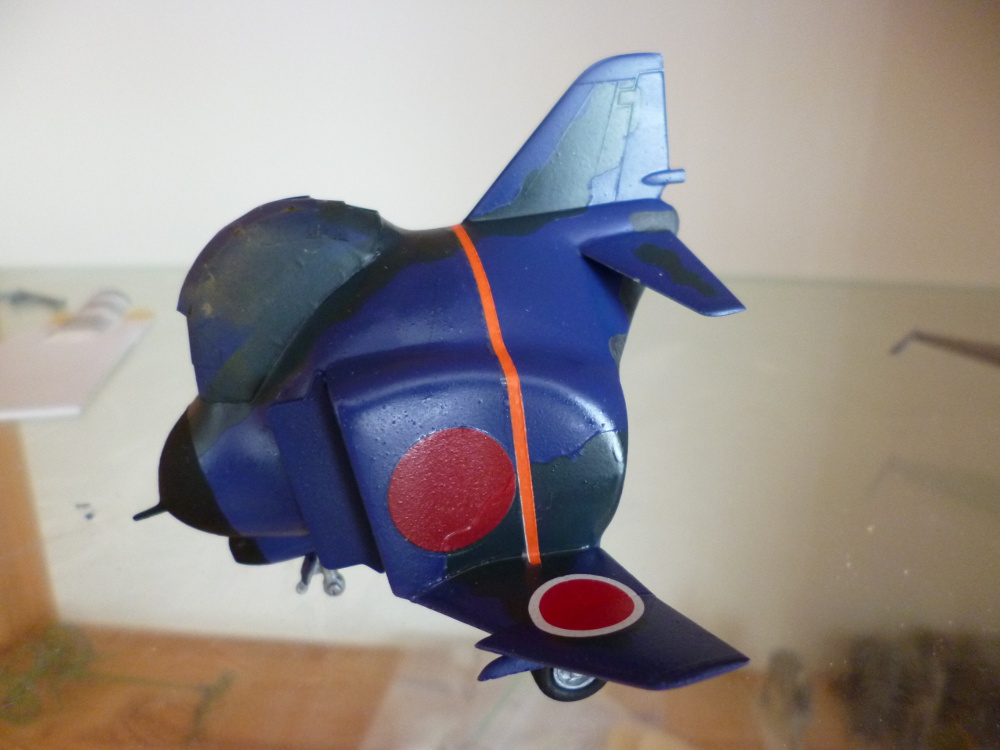
As I feared, these colours are no good either.
They don't look anywhere near as bad as the previous
attempt, but it's unambiguously two-tone grey. Both colours are called blue, oddly enough. This could be
a matter of perception, of course, since colour perception varies wildly between people, but however
one percieves colours, there should be no difference between two items of the same colour, in the same
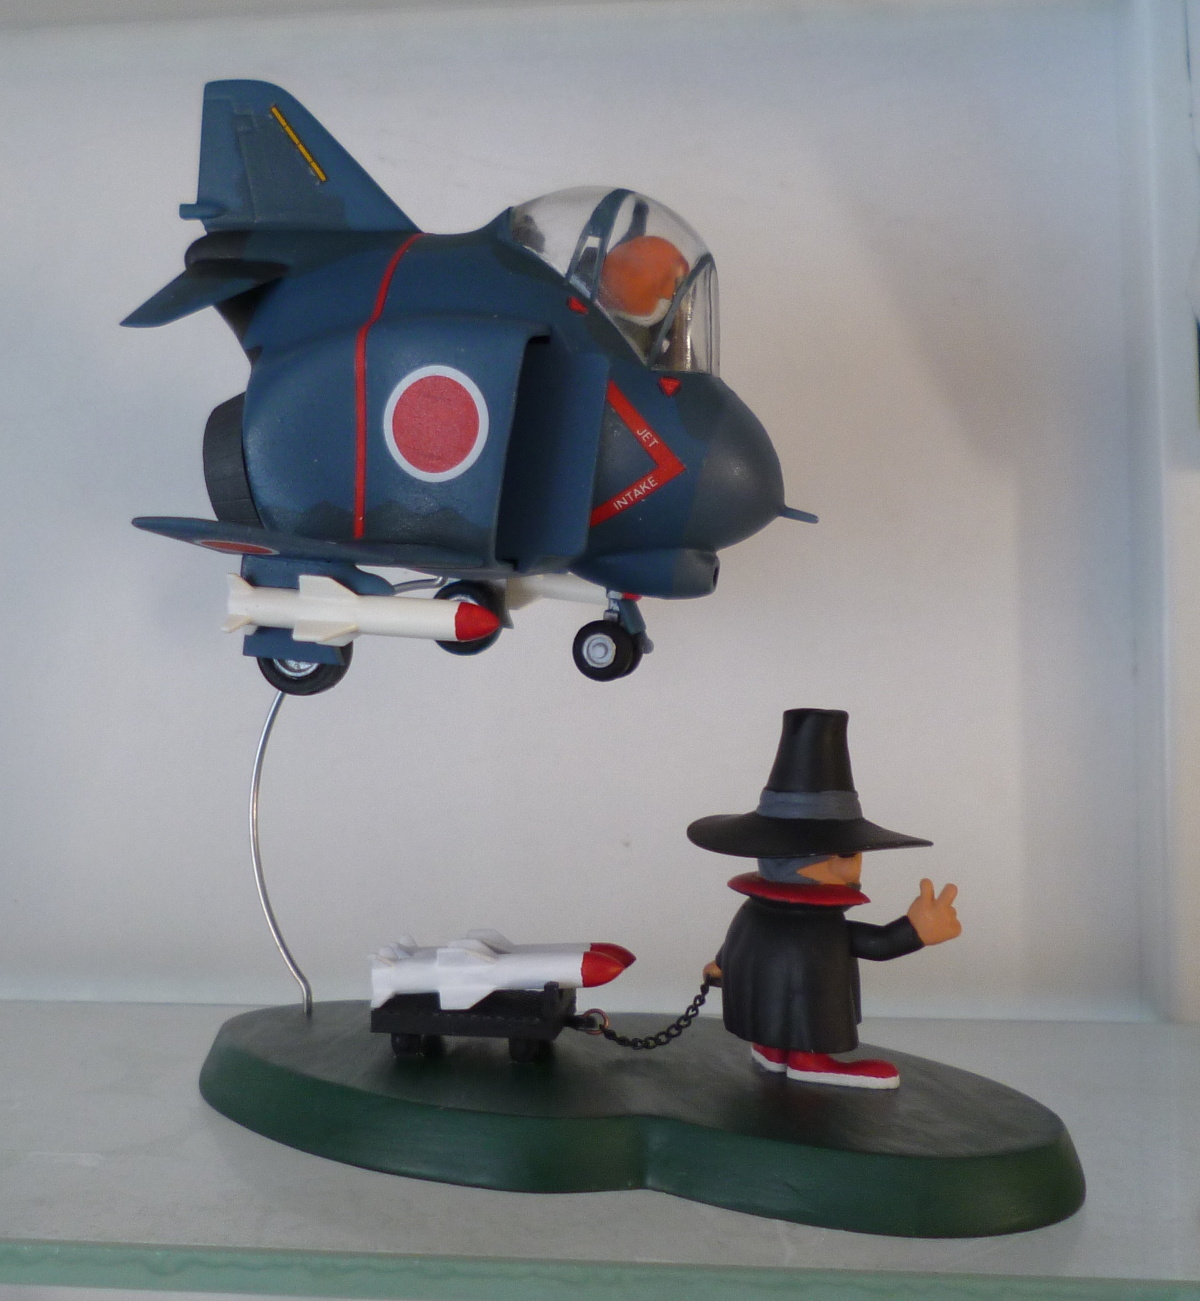
light. The model is sitting on a picture of the real thing. I see differences. Big ones too. Not just
compared to this photograph, but to just about every photograph of the real thing, and the differences
between those photos are minimal. These colours are wrong, period.

2017-01-29
The kit has been repainted yet again with RAF Blue and RLM24. I didn't need to strip it down to bare
plastic this time, which helps, but still, this was not how this was supposed to play out. GSA 56 looked
like a pretty good match for the radome colour, so I kept that in place. Preliminary inspection of the freshly
painted model shows that my estimate was at least a whole lot closer to the correct colours.
2017-02-06
Since the RAF Blue was matt, I shot a layer of rattlecan gloss varnish over the lot, and left that to dry
for a day or so before proceeding with the decals. After inspection of the the decals on the underside
of the plane, I noticed that the supposedly gloss RLM24 had become rather matt. I assumed this was due
to residue from the decals or Microsol, and tried to wipe it off with a wet q-tip. Didn't work, so,
thinking enamels wouldn't care, I switched to ethanol, and wiped quite a bit of the paint off. Looks
like enamels aren't quite that hard after all, and that the matting was a result of the Microsol chewing
at the paint. I managed to touch this up nicely, but in the future, I'll have to be more careful with
the solvents.
So, the decals were on, and everything looked cheerful. To seal things up before proceeding, I shot
another layer of rattlecan gloss over it. A few hours later, I noticed huge amounts of silvering on
two of the decals. I tried to rub it out with some thinned gloss varnish, but that failed, so I left the
kit over the weekend, and tried again just now with Humbroll Clear. That seems to have worked, but
final judgement on that will have to wait.
2017-02-15
The trick with the Clear worked. Noted for the toolbox..
Painting on the canopy frames was quite tricky, since there is almost no relief to begin with, and sanding
out the sprue attachment damage hadn't exactly improved matters. Sticking wheels and such on was uneventful.
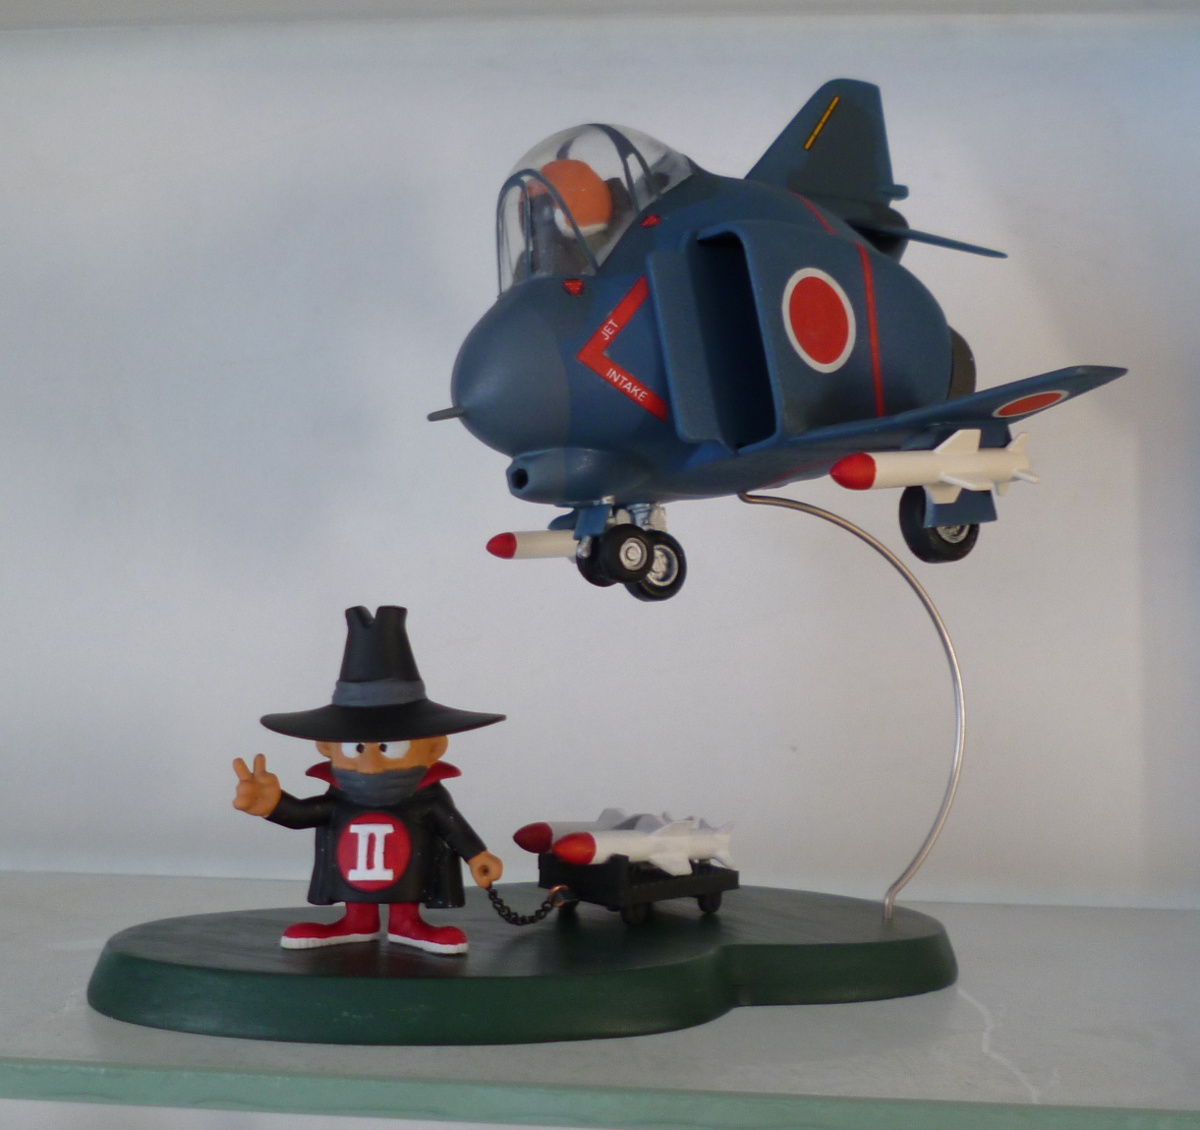
Spook was supposed to have two bombs on his cart, but I decided to swap these out for the missiles on my
second Phantom Egg, and so had to build a small fence for the front of the cart to keep the missiles level.
The instructions suggest a piece of string for the cart, but I decided to go with a rather more robust
bit of chain.
|
|
Finishing materials:
Motip primer overallGSA 56 nose.
Hu96 RAF Blue (acryic) camo (painted first)
Xtra 218 RLM24 Dunkelblau overall
Duplicolor gloss varnish overall
Microsol
Duplicolor gloss varnish overall
Citadel Purity Seal overall