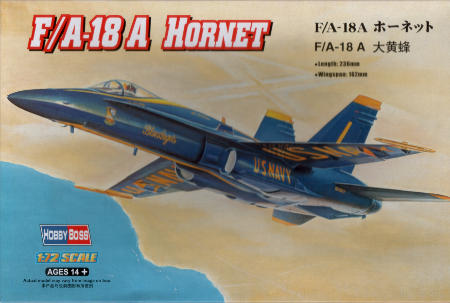

Hobby Boss Maple Leaf Hornet
Project start 2017-02-21
Something of an impulse buy on my part, but so far I like what I see. The Typhoon has shown itself
to be a lot more effort than anticipated, and I wanted something quick, easy, and colourful just to
rebuild some mojo. The kit, although not marked as such, is clearly one of the easy kit series, which
means it's basic to the point of being a bit crude, but with good fit and general shape. Quite sufficent
for what is essentially a canvas for some really wild markings.
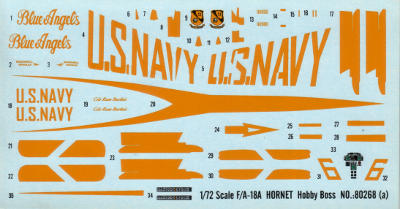
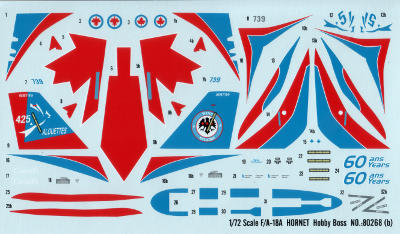
The kit contains two large decal sheets, which should perform well if past experience is anything to
go by. Oddly, it contains three external fuel tanks, two VER racks, and all five pylons, but nothing to
hang from the VERs and no air-to-air weapons at all. Given that neither subject carries anything ordnance,
I can imagine leaving out all external stores, or putting in the current stores plus two each of Sidewinder
and Sparrow missiles, but not this mix.
2017-03-28
As hoped, the model pretty much assembled itself, with minimal corrections needed to the basic frame. I expect
no difficulty from the undercarriage once I get to that point. The canopy frame does need a bit of work,
and a smallish amount of filler it now setting along the edges. I expect to hit the paintshop tomorrow.
2017-04-08
The canopy took a little longer than anticipated, but I got it into the paintshop last week. The first coat
of humbrol 127 revealed some gaps that needed fixing, so I had to take a step back and deal with those
first. If I had been paying proper attention, I would also have noticed that there was a distinct green
tint to the supposedly neutral, or even a bit blueish grey. This hadn't really bothered me on earlier
projects painted from the self same tin, but those were single colour jobs, while this one will get a
darker, more blue grey sitting next to it. As it is, I only realised the green tint stood out like a sore thumb
after repainting. The lid on the tin seemed to suggest this was a quality control issue, not intentional,
so I grabbed a far newer production tin from the stockpile for comparison. Neutral or slightly blue grey,
as expected. Good thing I'd already used up most of the bad paint, or I'd be chucking out yet another full
tin of paint from the dark ages of Humbrol.
2017-04-09
A good blast of 1980s stock Humbrol Airbrush 127 sorted the colour issue. I probably won't be ably to get
a proper masking and airbrushing session in before next weekend.
2017-04-17
I'm beginning to understand some of the bad press Humbrol got for a while. I put on the camouflage, and
guess what? It's green. Not as bad as the base coat was before re-painting, but bad enough. Again, the
same generation of paints that messed me up earlier, and the same generation, that forced me to sideline
four tins of 104 Oxford Blue. Just to make things that much crazier, I have an outwardly indistinguishable
tin of the same 145, same generation, probably about the same age, that doesn't have this green problem.
It does seem too thin for brush painting though..
New production 145, as I expected, has neither problem, so clearly they cleaned up their act considerably,
but from now on, I'll test anything that falls between the "super enamels" and the current 'wave pattern'
tins before use; production from those years just cannot be trusted
Proper camo for the Hornet will have to wait a while longer..
2017-04-17
At last, some real progress. The second attempt at the top colour went on yesterday, and I unmasked
the plane just now. For once, no nasty surprises at that point; I might actually be learning..
Residue from the masking tape left the canopy a bit grubby, so some cleanup with alcohol and a re-coating
with Clear will be next, followed by a few coats of Clear over the entire plane to protect against grubby
paws and to help the decals stick.

2017-04-28
I regret to inform you all that the Hornet has run into a spot of trouble...
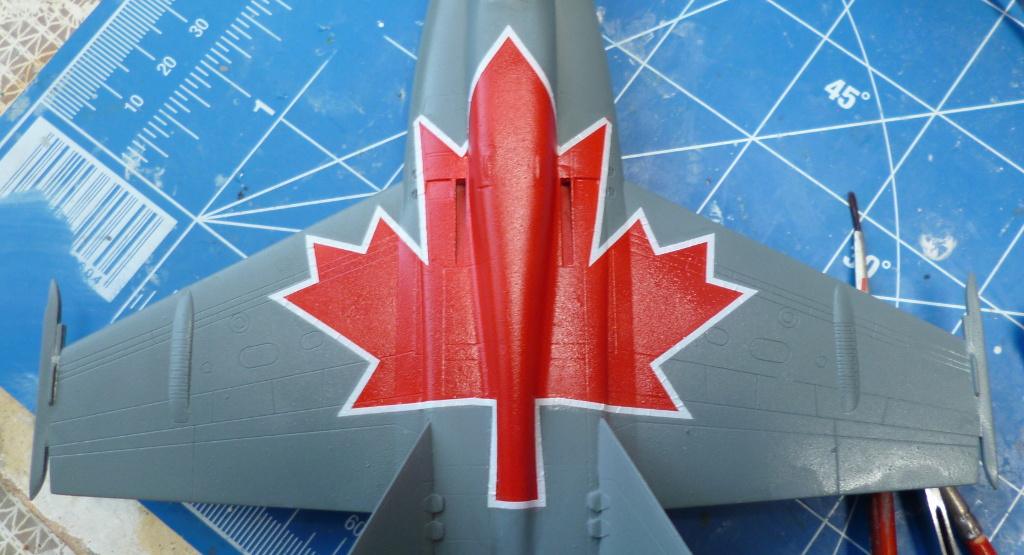
I got the centre section of the big maple leaf on yesterday, and made sure it was properly
settled down and stuck with several helpings of solvent. When I tried to attach the side
panels, I found out I'd lined it up with the wrong panel line. About as irrecoverable as it gets.
Still, I'm a stubborn old fool, and have started work on plan B. I've soaked/scraped/sanded
off most of the centre section, and will paint over the inevitable damage with grey later
today. In the mean time, I'll get down to some drawing on the computer, to produce a paint
mask for the red core of the maple leaf, and a decal for the white rim. This bug ain't dead yet..

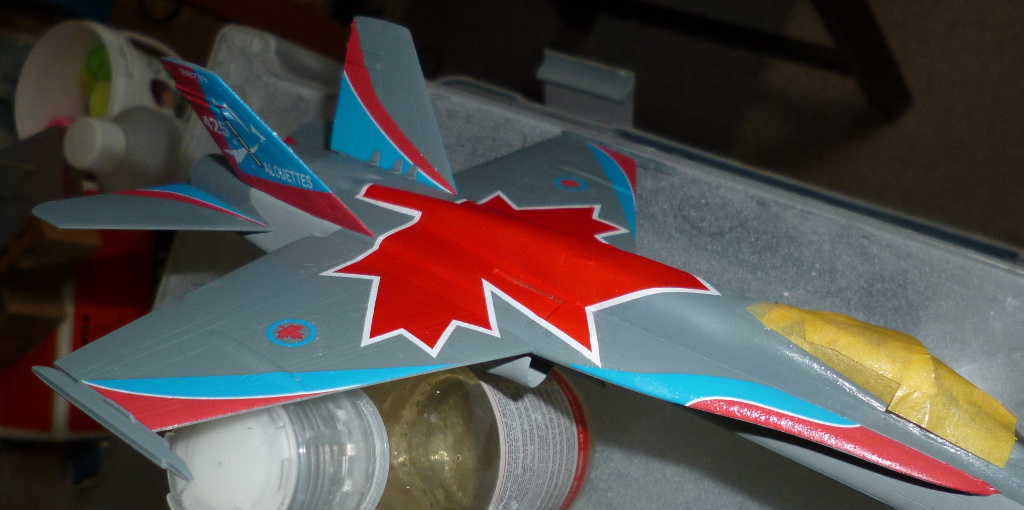
2017-05-07
I got a bit distracted by 3D stuff last weekend, but I finally got the backup plan up to speed.
Left to right, top to bottom shows the printed and cut out template on heavy paper, the pencil
trace on masking tape stuck to a plastic bag, the mask cut out along the trace, and the masked model.
Now, in case anyone is wondering how I intend to keep copying errors under control, the answer
is simply that I don't. The mask is intended only for the body of the maple leaf, the rim will
be a soon to be printed decal. That rim is a full mm wide, which in theory should give me enough
wiggle room to hide small errors and jagged edges from the airbrushing. In theory..
2017-05-07
I'm calling the painting stage of the recovery succesful
2017-05-10
The decal for the rim has been printed and given a coat of liquid decal.
OK, now I declare victory..
Yes, the points of the leaf on the leading edge extensions if incorrect;
for some reason Corel Draw insisted on truncating those points. I took the
quick and easy approach and printed some strips of white to fix this, rather
than spend an evening trying to figure out what was wrong. Barring serious
clumsiness, this should be routine.
2017-05-29
Another (potential?) problem raised it's head: even if the decals fit perfectly
before taking into account that there are several bumps on the tail, there's a
non-zero chance that where top and bottom decals on wings and such meet, a line
of grey will show (too much contrast to ignore), and of course, there are fairings
on the tail. So, I spent a good bit of time trying to find a near perfect colour
match for the blue decals, and failed utterly. I did, however, find that a mixture
of Modelmaster 'mediterranean blue' and 'classic white' was spot on.
After painting the outboard faces of the tail in that, I resumed decalling this
weekend. Progress is slow, with a single challenging decal soaking up a day (and
I'm not exactly oversupplied with those..). Doesn't help that this weekend we
got hit with a nice little heatwave, which tends to mostly shut me down..
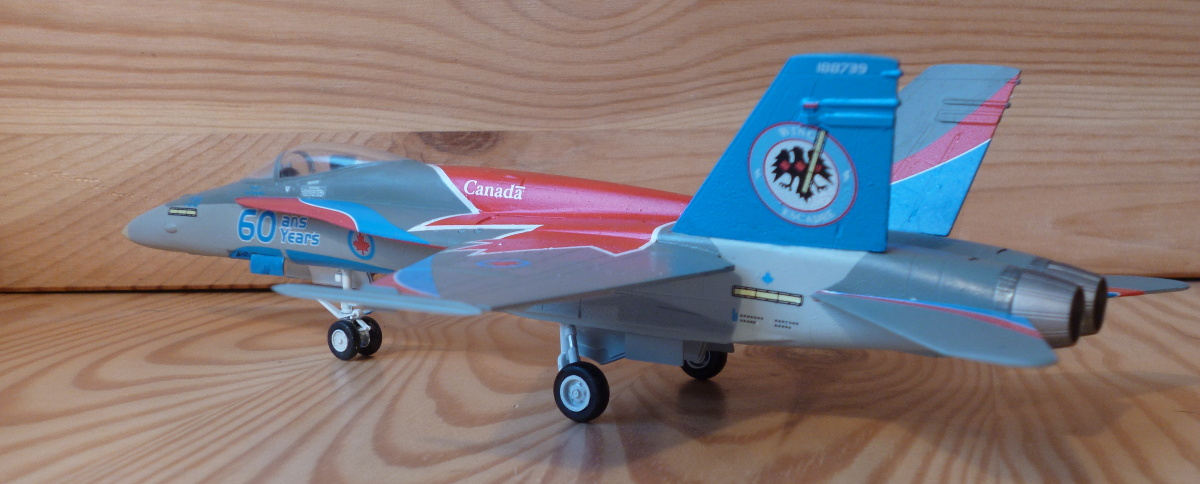
2017-06-09
I think I got enough of the decals on to warrant a snapshot..
The upper surfaces are now mostly complete, except for a small number of decals
that need some further beating down with MicroSol. That means I'm about 33
percent done with the decals.
Still, I'll get there eventually.
2017-12-30
The final batch of decals just went on. Once they're properly set, I'll start hitting
them with solvents, until then, I can only wait, and add the last bits of paint to
the undercarriage. I might just get this done before the "colourful models" meeting
next weekend.
2018-01-01
Apart from a final coat of varnish, this should have been complete now...except
that I forgot to paint one of the landing gear doors..
Still, as complete as it gets for now, final door and varnish later this week.
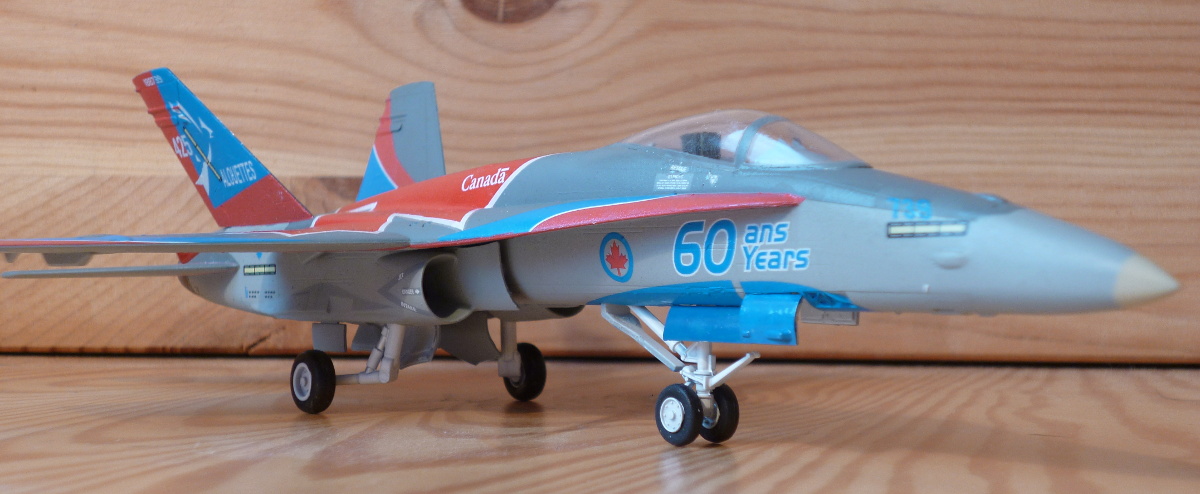
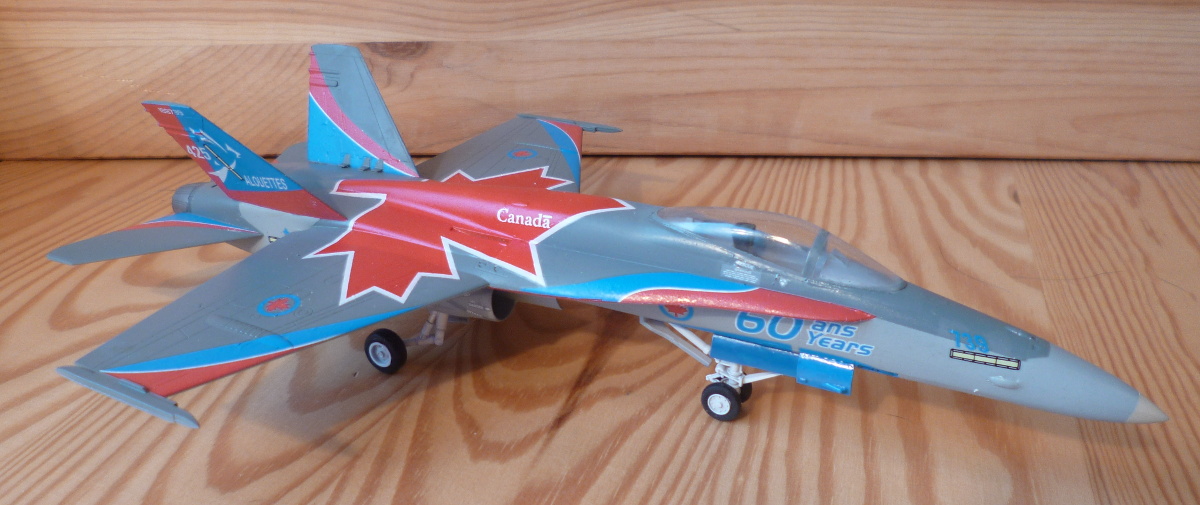
2018-05-27
Well I'll be damned. After all that work, I forgot to take some decent pictures
of the result. Easily remedied though..
Finishing materials:
Motip primer overallHu127 underside (off-colour paint)
Humbrol Airbrush 127 underside
Hu145 camo (off-colour paint)
Hu145 camo
Humbrol Clear
Micro Sol on decals