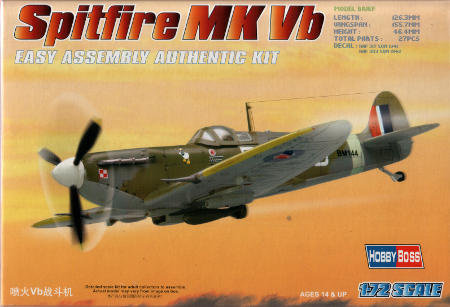
Hobby Boss Spitfire Vb
I still like to pretend I don't do WWII stuff, but since our host insisted with wallet in hand, or more precisely, a small mountain of Hobby Boss easykit warbirds on the floor, I wasn't really interested in resisting. If your going to go off-topic, you might as well do it with style, and when it comes to style, nothing beats a Spitfire. The aforementioned mountain contained only one European theater Spitfire (there was also one tropical version in the pile), So I made sure I was ready and pounced on it as soon as the word was given.
OK, so I now had a Spitfire. My original intent was to do a quick out-of-the-box build, but I got out of hand with a vengeance. It started when I noticed that Hobby Boss hadn't bothered with wheel well doors. That would look too silly to accept, so I went looking for parts in the spares bin. Predictably, I found none. I then made the mistake of looking for aftermarket replacements. The modelling industry loves Spitfires, so there's plenty of stuff out there, including a photo-etch set that includes wheel doors. By the time I'd found this, I'd also seen lots of other tasty stuff, and since the OOB idea had now been rejected, an resin propeller and cockpit set were added.
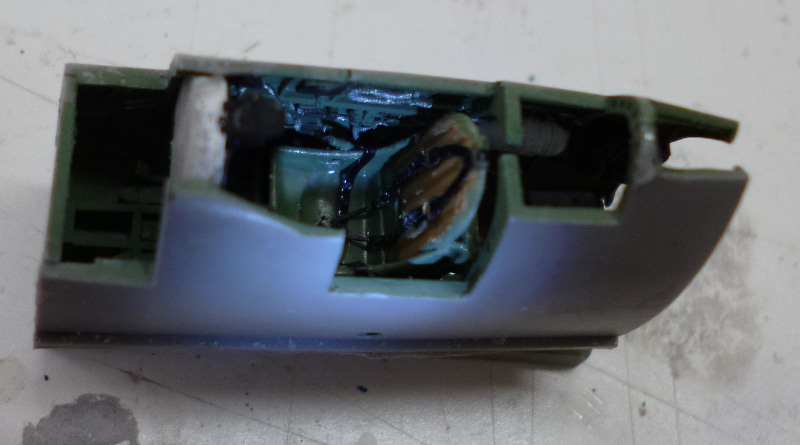
The cockpit set by Aires is a regular work of art in it's own right. It consists of several resin panels and some minor parts, completed by a small photo-etch fret and some transparencies for the instrument panel. All of these easily build up into a nice Spitfire interior.
Hobby Boss kits are often considered second string (not justified, in my opinion), and none more so than the easykits. Aftermarket parts, in general, are not designed for them, and these are no exception. Being simple, snaptite little things, the easykits are, by any reasonable criteria, completely unsuited to fitting anything inside them, but I wasn't feeling particularly reasonable.
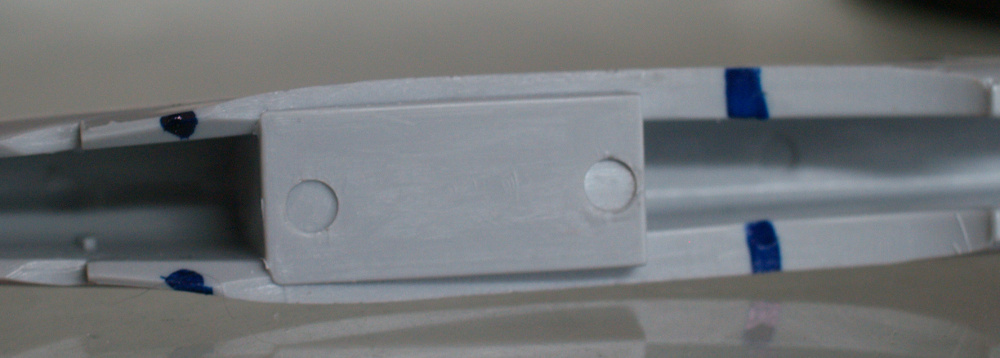
For it's part, the kit wasn't feeling reasonable either. Their is a massive box where
the cockpit should be, and even ignoring that, the walls of the fuselage are several
millimeters thick. That translates into many, many hours with my trusty not-quite-Dremel
carefully milling away what seemed like an infinite amount of plastic to make room for
the Aires set. Initially, I could get away relatively rough work, but as work progressed
those very thick walls were beginning to turn translucent in some spots, and still the cockpit wouldn't fit.
Plastic removal slowed down considerably, until didn't dare go any farther. At that
point I had to switch to thinning the side panels of the cockpit module, also quite
scary. After some more hack and slash work on the wings, the centre of which was again
made up of too much plastic, I finally managed to squeeze the cockpit into place, and
seal up the aircraft with only a minimal gap between wing and fuselage. Good thing too,
because there was nothing left for me to scrape off without sacrificing visible bits.
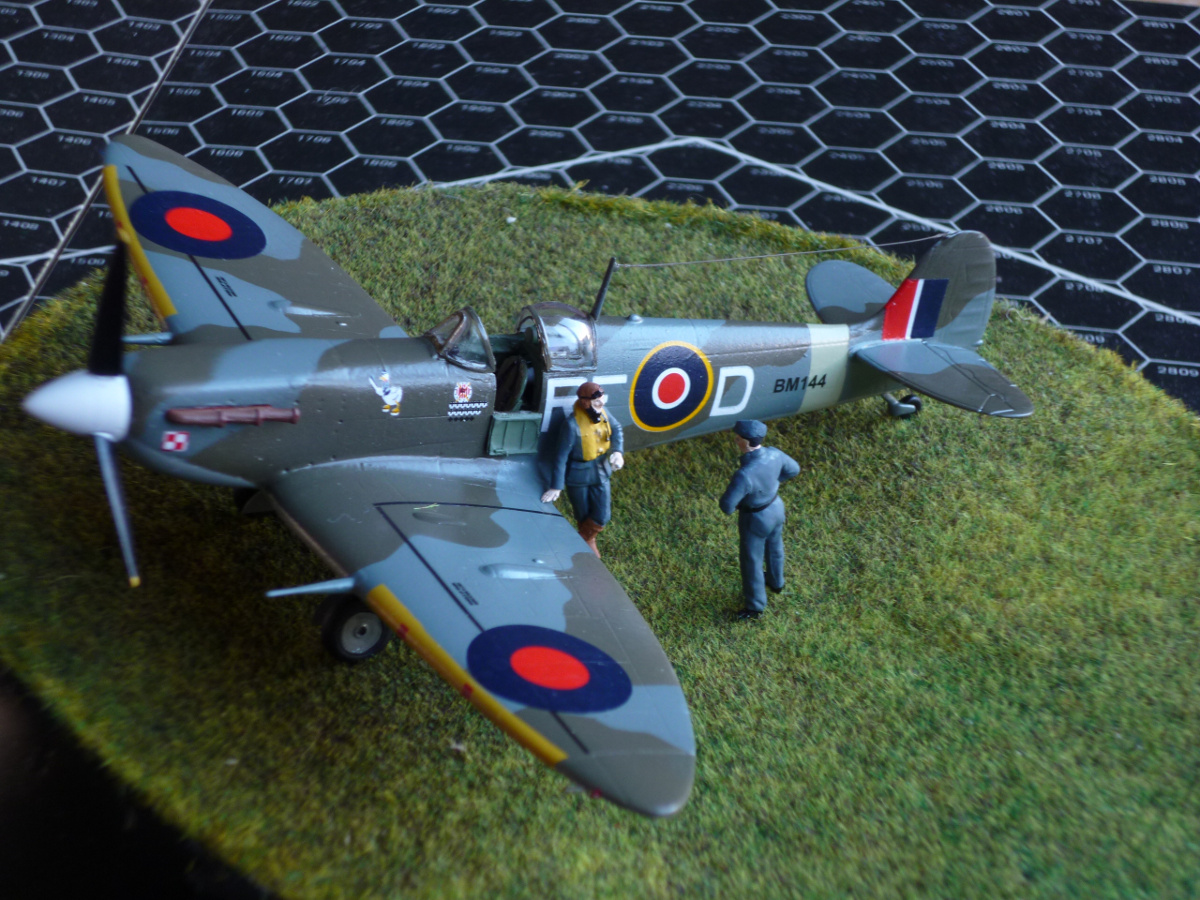
That brought me to the next issue with this kit. Even from the box art it is clear that
the canopy doesn't fit. I'll be building this one with the cockpit roof slid back and
the side door open (that cockpit needs to be visible), and this is some help, as Hobby
Boss have provided both a single part closed canopy, and a three part open one. The rear
two parts of the open canopy are quite acceptable, which leaves the windscreen to have a
fight with. Towards the rear, this part is something like 2mm too wide, 1mm of which is
wall thickness. Modifying clear plastic is next to impossible. In what can only be
considered an act of desperation, I dunked the windscreen into a pan of boiling water,
and very carefully squeezed with a pair of pliers. After five or so attempts, I had it
bent into shape, and still completely clear.
With all the conversion work now out of the way, most of the construction part has been completed. I expect one, maybe two more iterations of sanding and filling, and then this one heads for the paintshop. Time permitting, I plan to build a "grass" covered base on which to display this, and possibly later small scale warbirds, along with some figures. It remains to be seen how that will work out.
2014-01-03
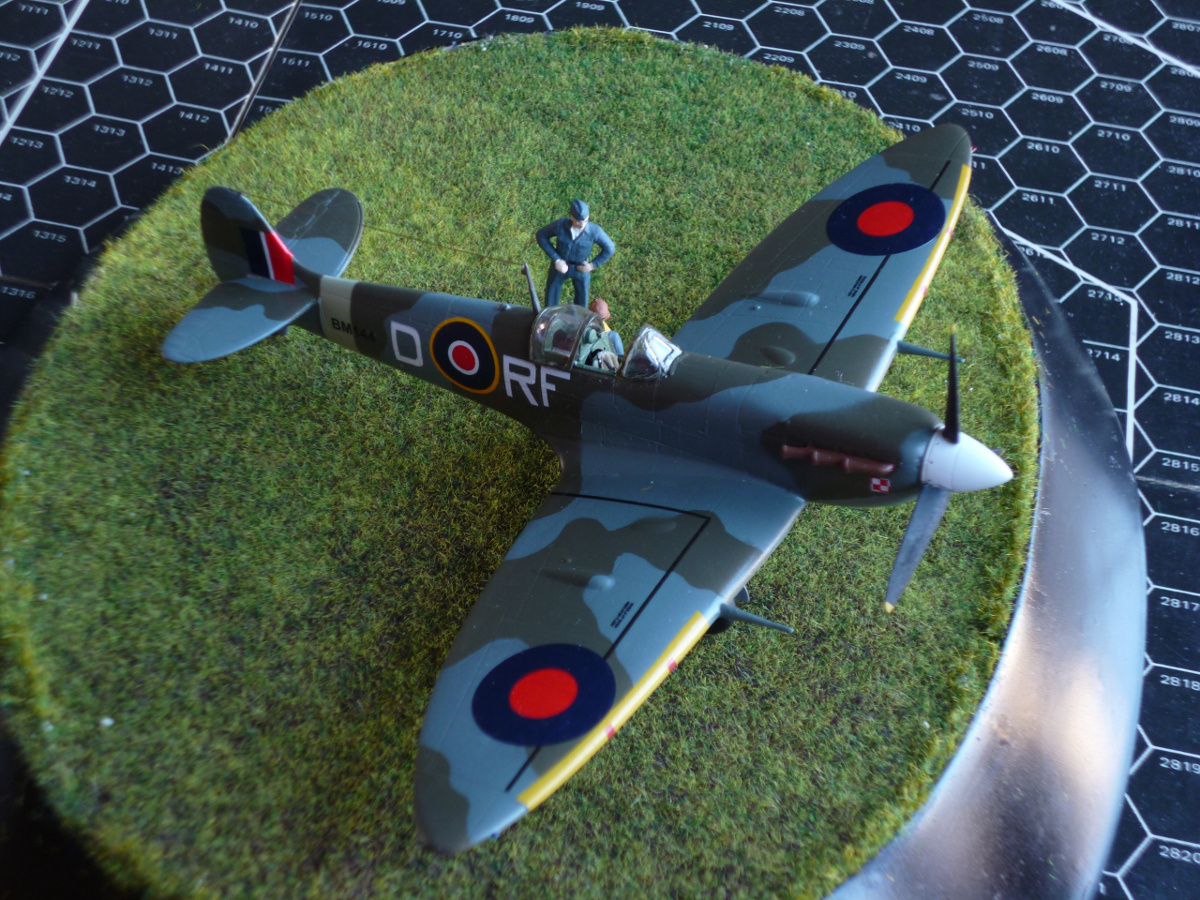
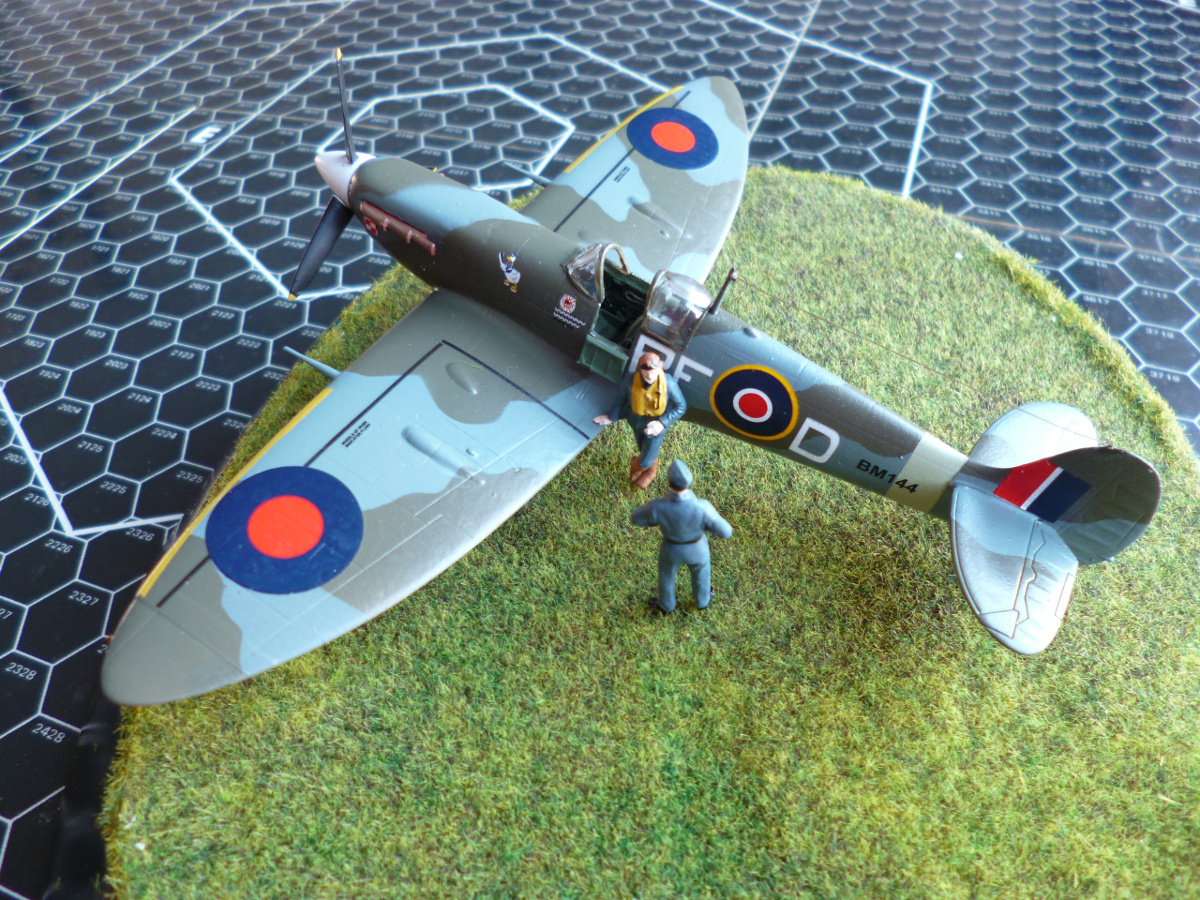
The plane is now complete. Other than a mild masking nightmare due to the open cockpit,
painting was uneventful. The decals too mostly cooperated. The antenna wire required some
experimentation with CA glue; despite it's reputation for speed, this stuff just takes too
long to set when trying to attach such a wire, or presumably any other part, that is essentially
just hanging in mid air with next to no contact surface with anything. Commercial accellerators
can be very hot and not necessarily paint friendly (acetone was mentioned), so I was not going to risk them. Some reading
up on them revealed that one possible active ingredient was plain old alcohol. Oil based paints
don't care about alcohol, so I tried it, and was pleasantly surprised by the result. Although
not instant, setting speed is high enough to work with. I'm quite pleased with the aircraft.
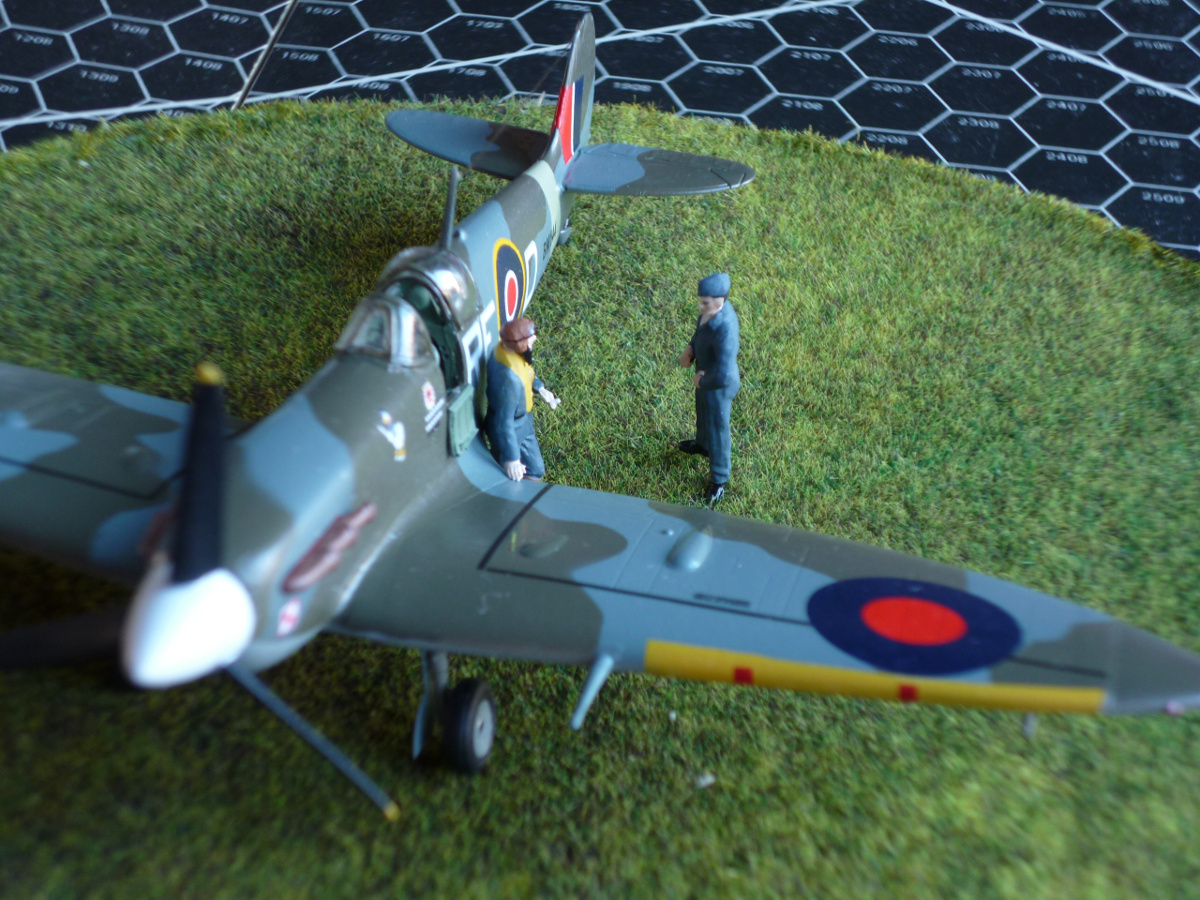
The Revell RAF figure set is mostly useless for crew inside the planes (it's probably scaled
correctly, but cockpit interiors are not, leaving too little room for crew), but it does supply
some rather nice figures to put on and around planes. Two of these were painted up and are ready
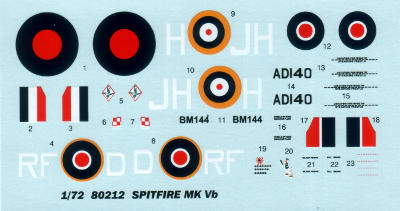
to join their hardware. I do hope commander Zumbach (the Polish ace whose markings this model
carries) smoked or I've got a historical misrepresentation on my hands..
The base, as usual, took enough work to be considered a project in it's own right, but it is now
nearing completion. It was constructed by scroungeing up a thin plastic rim, sticking it to some
plywood, and then slowly building up an angled outer face with several layers of woodrot filler
for the rough shape, and then multiple layers of just about every other filler in my arsenal for
the final smooth visible side. The inside was left hollow, and then fitted with a foam board insert
covered in "grass". Since the figures have pins fitted into their legs, this allows me to place
and remove them as the situation warrants, without having to resort to visible bases.
As usual, I'm cutting the complete project rather fine, but I'm convinced it will be ready in time.
2014-01-17
Some further railroad grass was all that was needed to complete the base, and I'm now the
rather proud owner of a Spitfire and a re-useable base.
|
|
|
|
Finishing materials:
Motip primer overallX007 tail
X003 bottom
X001 top
X006 camouflage
Daco decal solvent (both medium and strong)
50/25/25 Sylvacryl/water/alcohol with Talens retarder finish (not quite as nice as it should have been)
Sylvacryl (handbrushed)