Fujimi Tateya
2005-01-12 Project start
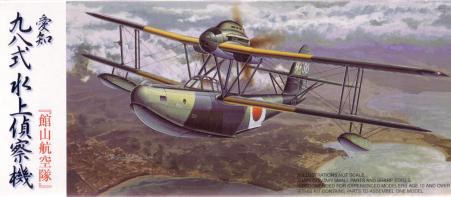
One of the themes selected for the 2005 SIG meetings was the Imperial Japanese Navy. Great, I don't know jack about these chaps, and care only slightly less. I could simply have grabbed a Zero at the local store, but everyone has and knows Zero's, and consequently, they're boring. Given that this isn't my subject anyway, I needed a less known subject, and preferably something freaky, to keeps things interesting for myself. As said, I don't know much about this subject, so just started browsing catalogues, and stumbled accross this little critter. I guess a push prob, biplane flying boat is about as strange as it gets, so this is going to be it. To be honest, I've taken quite a liking to this silly little bird.
The Aichi E11A1 type98 seaplane, as this plane is officially known, was a rare bird used early in the second world war. A grand total of 17 of these were built, so there were never many of them, but apparently it has captured the imagination of a good number of modellers, as in addition to this Fujimi kit there is or was also a Chechmaster resin kit of it, and squadron lists a similar kit under a different Chech label. And that's just in 1/72 scale. If this goes on, it may yet become one of those craft that has more different kits of it than actual units produced.
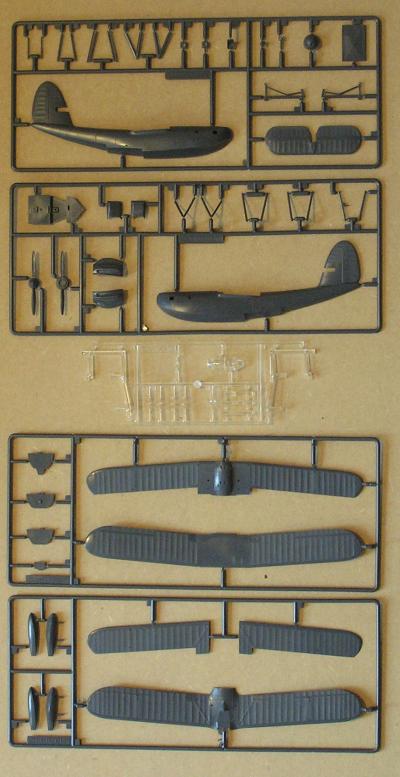
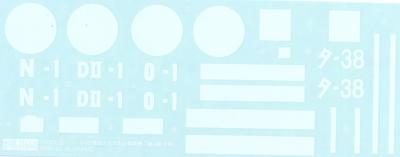
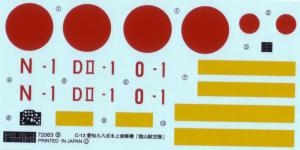
So, down to the actual kit. I must admit to mixed feelings about it. It is a relatively recent kit, having been released as near as I can tell in 1998, but detail is rather sparse. On the other hand, what is there is nice and crisp, the parts are free of flash and ejector marks are rare, everything fits (so far at least), the plastic used is relatively soft and easy to work with, and the folks at Fujimi have quite thoughfully supplied a little rig to align the wings with, as well as a small trolley for handling the plane on dry land (or perhaps this is just a display stand in disguise). Maybe the lack of detail is due to the fact that there is simply no real aircraft left in existence; I don't know if that is the case, but it would explain a lot. Curiously, the decals are supplied on two small sheets, one of which has only white on it. Looks like the producers have little faith in the ability of their decals to cover dark green without an extra white backing decal. Oh well, more stickers to play with I guess.
Since this is not a subject with which I'm overly familiar, and as the web isn't generous with details on this plane either, I don't know how and where I could improve upon this kit, so it will roughly be built out of the box. Obviously, I'll have to scratchbuild the rigging, and I won't be using the small windows in the nose of the plane, which I'll replace with a drop of Clearfix once the kit is otherwise complete.
So far, I've done a load of initial assembly. The cockpit, such as it is, is assembled except for a pair of seats that have ejector marks, the main wings are assembled and ready for cleaning up after the glue has set completely, the same goes for the engine mount, and the prop, and the trolley and jig are assembled and ready for painting and use. Now the various materials need to set, and I need to take a break. I've been building very fast, and if I keep this up I'll get myself into trouble when I reach a stage where that is no longer feasable.
2005-08-23
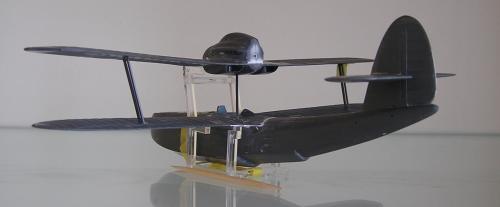
A lot has happened since I set up this project page. As can be seen
from the picture, the cockpit has been completed. This will be all but
invisible once the fuselage halves are joined, so bare as it is, I figured
picture might be nice.
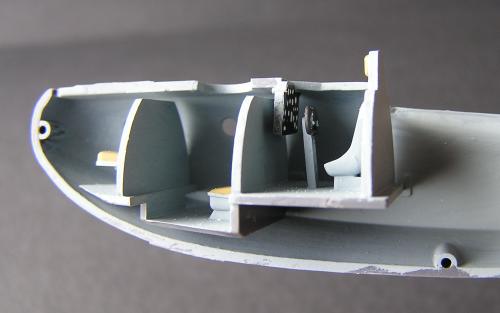
The kit is by now mostly assembled. The fuselage is closed, and the lower wing has been attached, as has the stabilisor, and the upper wing is just about complete as well. Mostly, the kit has gone together quite easily, with very little filler and sanding required. The next stage is where things will start to get really interesting: figuring out exactly where all the rigging is going to go, what needs to be assembled first, and what needs to be painted when. Matters are complicated by the presence, not just of the two wings, but also of the floats under the wings, which have rigging of their own.