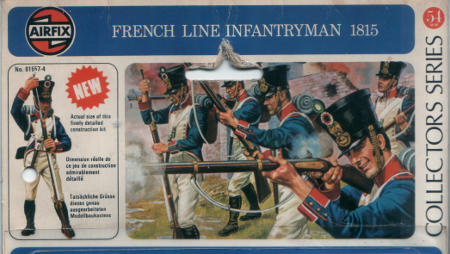
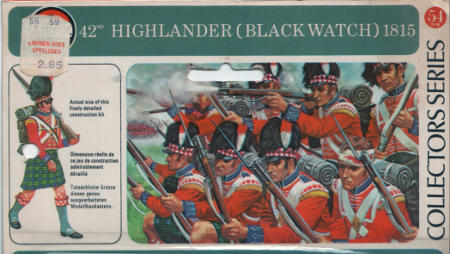
Airfix French Line Infantry and British 42nd Highlander
Project start 2015-04-28
I decided I needed a low-hassle side project while working on my
vacform GB project, and decided to
take a stab at these two as a classic Airfix GB
entry to fill that need. I got more than I bargained for in the hassle department though..
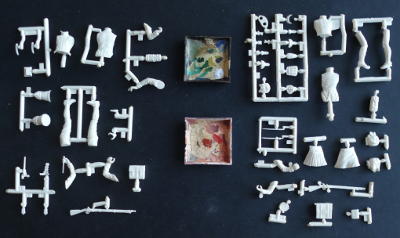
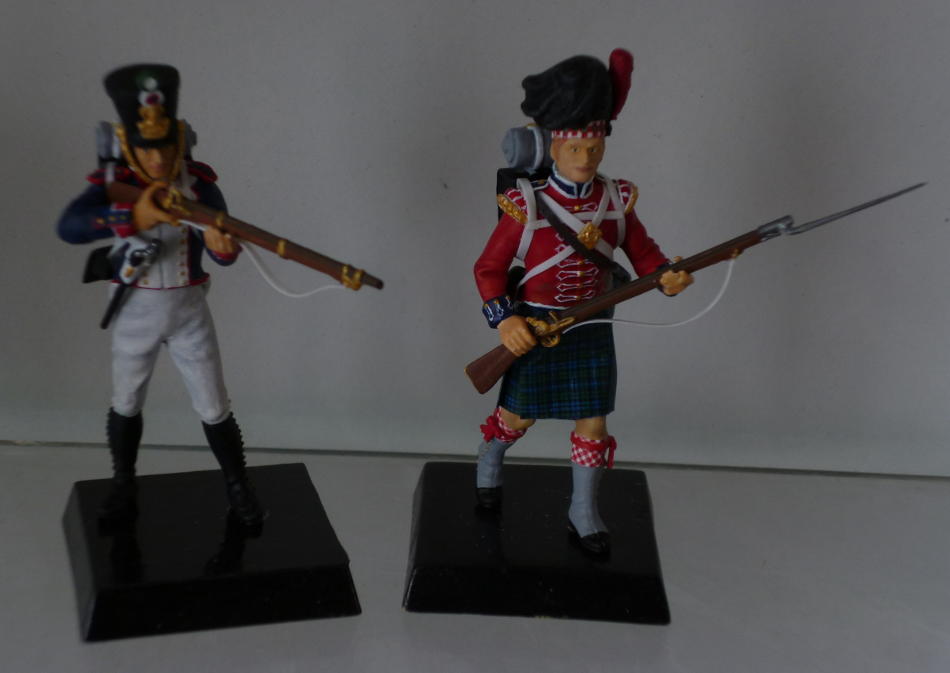
These are old and somewhat abused blisterings (can't call it boxings..) of the 42nd Highlanders (on the right in the parts picture), and the French line infantry (left). The sprues were cut up something like 30 years ago, and they've been languishing ever since. One set of arms for the Highlander has gone missing during that time, but that's OK, the pair I planned to use is still there, and otherwise the spares box would have supplied them.
The really messed up bases in the middle have seen decades of service as paint mixing dishes, and are close to solidly filled with dried up remains. Their job has largely been taken up by other tools now, and I figured they were due for an honourable retirement at the feet of these two chaps. Some surface damage will need to be fixed, but that is a trivial matter.
Most of the aforementioned hassle was at least in part of my own making. The kilt as supplied
in the Highlander kit looks great, but I don't think it would be possible to hand paint a tartan pattern on
it in such a way that the folds in the cloth are accounted for correctly, and anything else just looks
daft. My initial idea was to draw the tartan and print it onto a decal, and stick the decal onto the kit kilt.
In retrospect, this wouldn't have worked out, since the kit part does not mimick each and every fold,
and the pattern would have become skewed. As it turned out, this never became an issue..
2015-05-01
I made a start on the main assemblies. Predictably, every seam will need filler and filing. The highlander also needed work on the position of his legs; OOB the size of the step he's trying to take would be ridiculous, not to mention inconsistent with the position of his feet, and he would be tilted significantly to the right and rear. It's almost as if they couldn't make up their minds whether to have him march or charge, and ended up with legs somewhere inbetween.
The kilt is also in two parts, but these have to be assembled in place around the legs, so that wasn't possible yet. I suspect this is going to cause trouble later on, as this means I'll have to build two badly fitting parts around painted up legs.
2015-05-02
I couldn't resist doing some measurements. The problem is not the size of the step, which works out to about 75cm. If anything, my modification reduces this to a rather short step. The cant to the right (invisible until you notice it, then it becomes impossible to ignore) is a different matter though, which would suggest his right leg is actually too short in relation to the left.
Since I was hacking away with CorelDraw anyway, I added the tartans for the other highland regiments at Waterloo, plus the red and white thing they also used. That gives me Black Watch, Gordon, and Cameron.
2015-05-08
That kilt is really beginning to turn into a problem. the two parts don't want to fit together, even when fiddled into position it insists on causing 'drunk' highlanders, and with the position of the legs slightly changed, there's a fold getting in the way the guy's knee. I made an attempt to bend into a better shape by dunking it in boiling water, but this made a bad situation simply horrible. The front half of the kilt is now officially written off, and I'll be working on a plan for building a replacement for a bit.
2015-05-10
Just some minor fiddling with the main parts going on here, nothing picture-worthy as yet.
I just prepped and sent the tartan decal sheet to the printers. A test run on plain paper with the office colour laser gave very hopeful results, so this should work. If it does, I'll have a lifetime supply of tartan decals, as print size for the laser stuff is A4. That's a lot of kilts in this scale
2015-05-11
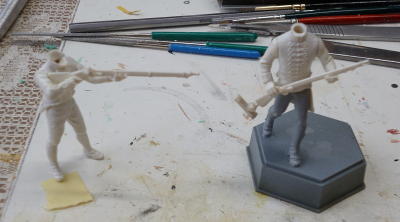
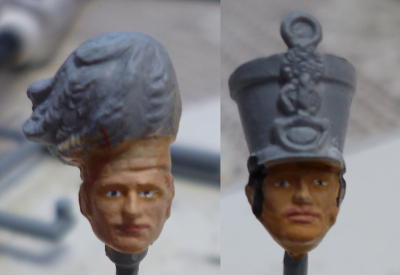
Even minor fiddling creates visible progress after a while, so I figured it was time for a bit of a preview
The heads are also complete and primed, but a bit tricky to install at this time.
The French soldier is completely glued up, except for the musket, and only needs some work with filler along his right shoulder before I can start on the paintwork, assuming it is possible to add his thumbs in such a way that I can leave the gun off for a bit.
The Highlander is still in three parts plus musket; legs, kilt, and torso. Again only some shoulder work away from painting.
2015-05-19
A have put a first coat of paint on the Highlanders legs, just some rough splotches of brown that should serve as a sort of pre-shading for the real fleshtone to follow shortly from the airbrush (always experimenting...). It's about time he got some legs going too, since the 'cloth' for his kilt arrived today.
2015-05-20
Got some paintwork in today.
I also stuck the thumbs on the Frenchy. He's clearly serious about his job, because he got completely fused to his gun in the process. Commendable dedication, but I'm afraid they needed separation by scalpel... Some damage control/reshaping of the right hand will be needed once the plastic has completely recovered from the solvents.
Both torsos are ready for further work, and the Highlander has had a shot of primer, so I can start painting on that tomorrow. I also airbrushed his legs, which didn't come out too shoddy, but showed the technique needs some work.
2015-05-22
There's good news and bad news for the highlander: I think I may have a way to get him the best kilt ever, and I doubt it will be ready in time..
The idea is this: I buy a pair of chocolat bars (Côte-d'Or to be precise), and remove the metal foil wrapping (contents dutifully eaten, of course, can't waste food can we now). This particular foil is just thick enough to hold a shape when folded/bent. Cut the correct width and lenght (measured around the lower hem) from this, zig-zag fold it at about right angles so that the length will equal the upper measure when flattened, and stick the decal on. Then flatten the top and glue into a circle. The lower end can then be fanned out to account for the movement of the legs, while (and this is the point of the whole excercise) the tartan pattern correctly overlaps itself at the folds.
The first tests have been completed. I know I can glue the foil with CA, I know I can produce the folds with some trickery involving two steel rulers and a spetula, and I know that the decal will adhere to the foil, and is flexible enough to bend after application.
The next test will be to zig-zag a section of foil to 90 degree angles, decal it in that shape, and then complete the folding and fanning. If that works out, the next step is to do it for real on a kilt, with the tartan decal.
2015-05-25
OK, decalling pre-folded foil didn't work. I couldn't get the decal to lie down into the folds without putting some pressure on, and putting pressure on deformed the folds. I'll have to see if I can do the complete folding process with the decal in place, which is a rather scary concept. Fresh test piece being prepared right now..
2015-06-12
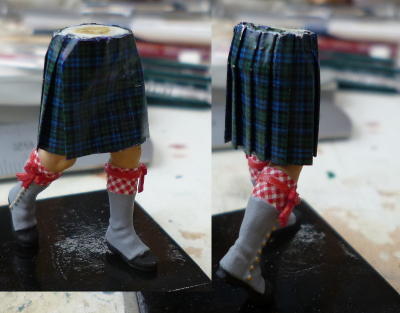
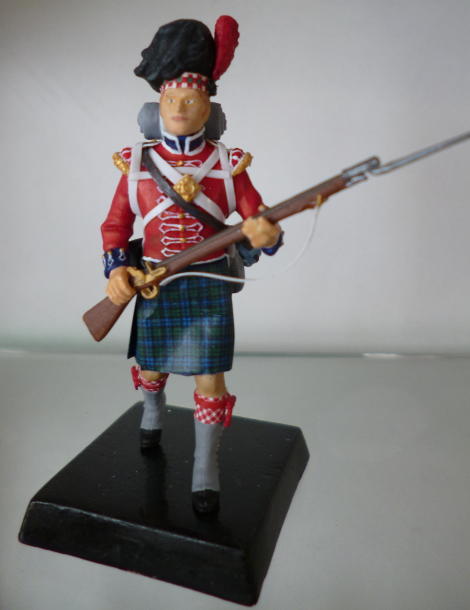
I've got the 'easy' part of the decals on the Highlander. Not quite that easy of course, since the socks are not completly round and flat, and the rim of the bonnet is partially covered by the ostrich feathers, but I like the result so far. I'll leave these to set thoroughly before putting on a protective coat of varnish. Painting those feathers, and putting on the garters on top of the decal is going to scary, so I want all the error compensation I can arrange...
Most of the paintwork on the torso and legs of the French soldier is now completed.
2015-06-15
Making the kilt is working, and yet it isn't.
The basic technique (decal on metal foil, bent into folds over a metal edge) seems solid, although the decal is more sensitive to scuffing than I'd hoped. Once you get the hang of it, nothing more agressive than a thumb is needed to bend the metal, and the scuffing problem is then greatly reduced or eliminated.
My attempt to cut out just the right amoung of decal and foil was a failure though; what should have been the complete kilt became just over half. I think it would be better to make a far longer band of 'cloth', and then cut the decalled and zig-zagged result to size. Good thing I had 'way too much' decal printed. I'll have to start from almost scratch on the kilt, but I think I've got it figured now.
2015-06-21
I think I've got the 'undercarriage' of the Highlander sorted..
Vulnerability of the decal continued to bug me a bit; I'll shoot on a protective coating before fitting the torso, since this will take some fitting.
2015-06-21
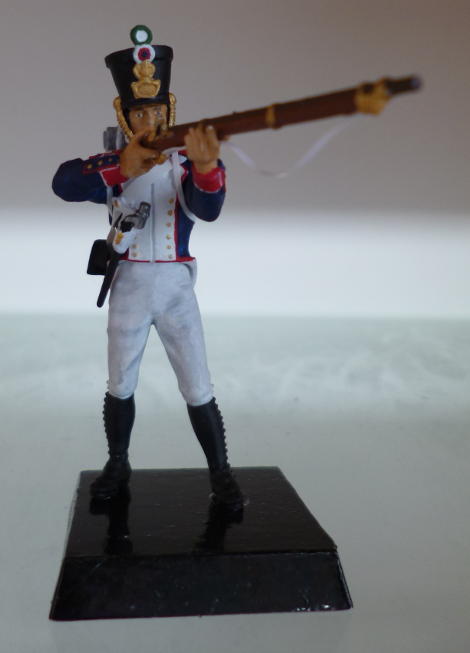
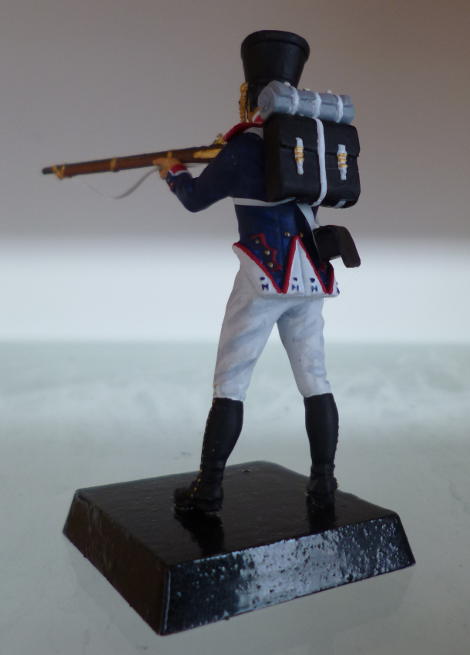
The French soldier is complete.
|
|
2015-07-05
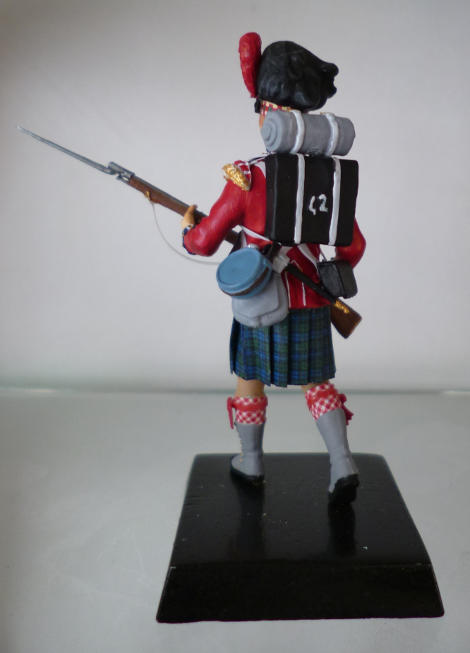
As is the Highlander..
|
|
|
|